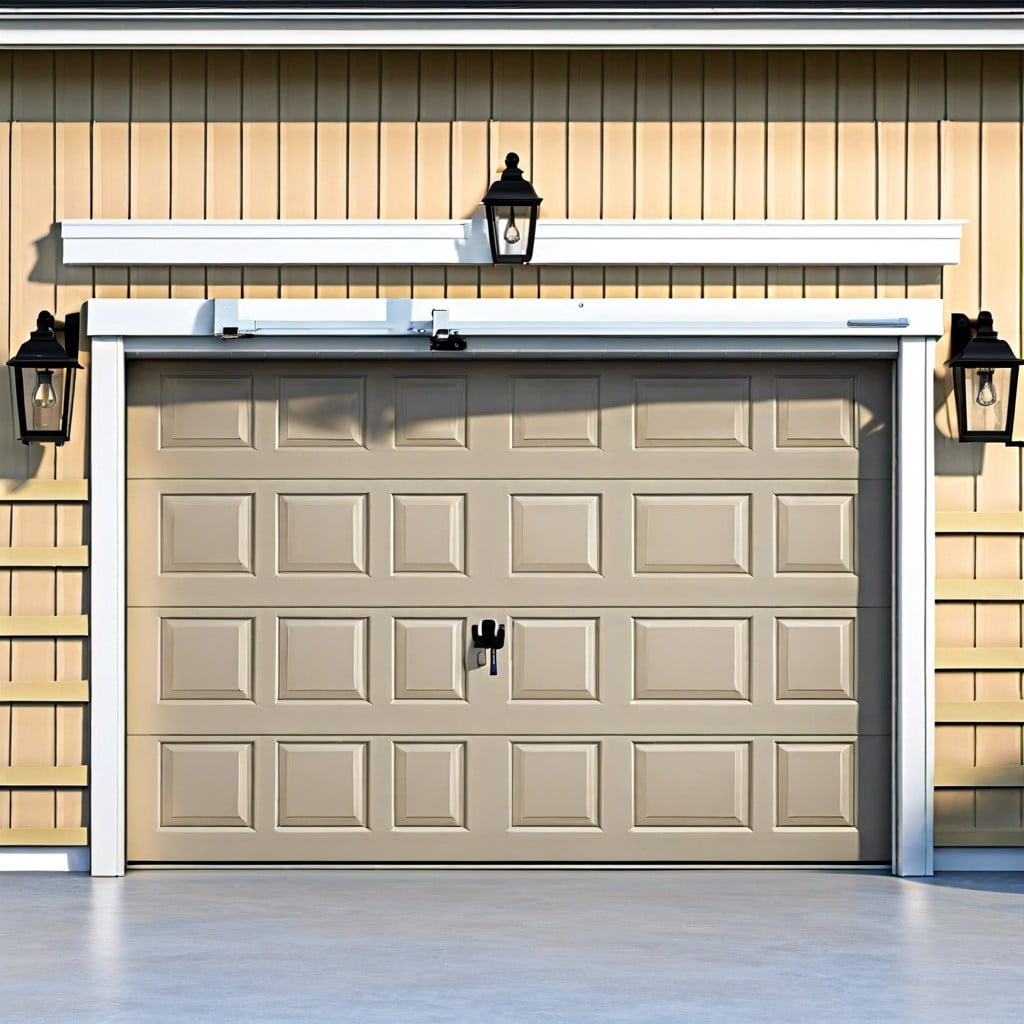
This how-to guide provides straightforward steps to reconnect your garage door opener, ensuring a swift return to functionality.
Key takeaways:
- Ensure garage door is closed before starting reconnection process.
- Locate the learn button on the garage door opener.
- Reset the opener by clearing its memory.
- Test the door function to ensure proper operation.
- Seek professional support if reconnection process is unsuccessful.
Ensure Garage Door Is Closed

Prior to attempting any reconnection process, verify that your garage door is in the closed position to prevent any unintended movement or accidents. This ensures personal safety and protects your property from potential damage. Engaging the reconnection with the door closed also allows for clear access to the necessary components without obstruction.
If the door cannot be closed due to a malfunction or obstruction, use the manual release cord to maneuver the door into the closed position manually. Exercise caution while doing so, avoiding any sharp edges or moving parts that could cause injury. Once the door is securely closed, proceed with the reconnection process. This initial step lays the groundwork for a smooth and effective reconnection of your garage door opener.
Locate the Learn Button
Identifying the learn button is a critical step in reconnecting your garage door opener. Typically, this button is located on the back or side of the opener’s motor unit, which is usually mounted on the ceiling of the garage. On some models, the button may be found under the light lens near the wire terminals.
Depending on the manufacturer, the learn button may be colored differently — common colors include red, yellow, purple, or green. Once you find it, you’ll notice it’s distinctly marked and usually labeled as ‘Learn’ or ‘Home’.
Before pressing the learn button, ensure you have the remote control within reach. The process involves pressing and releasing the learn button swiftly and then, within 30 seconds, programming the remote control. This synchronizes the remote with your garage door opener, allowing for seamless operation.
Safety is paramount, so if you’re using a ladder to reach the button, make sure it’s stable and that proper safety precautions are taken. If you’re unsure or cannot locate the learn button, consulting the owner’s manual specific to your model can provide clear guidance and diagrams to assist in the task.
Reset the Opener
Once you’ve located the learn button – typically situated on the back of the garage door opener’s motor unit – press and hold it until the indicator light begins to blink or goes out. This usually takes about six seconds. The opener’s memory is now cleared of all previous programming, effectively resetting it.
Immediately following this step, you’ll need to reprogram any remote controls that operate the garage door. This is accomplished by pressing the learn button again and then, within 30 seconds, pressing the desired button on the remote control. The blinking or solid illumination of the indicator light signals a successful link.
For keypad entry systems, enter the door code into the keypad followed by the ‘Enter’ button after pressing and releasing the learn button. Some models may require additional steps such as holding the ‘Enter’ button until the garage door operates.
It’s crucial to avoid pressing the learn button for too long. Prolonged pressing could accidentally reset the opener to its factory settings, often an unnecessary and time-consuming complication.
After reprogramming, a quick operational test of the garage door using the remote control or keypad ensures the reset was successful. If the door responds to the commands as expected, the opener reset is complete.
Test the Door Function
Once you’ve reset the opener, it’s crucial to verify that the garage door is functioning correctly. Press the button on your remote to open the door. Observe its motion; it should glide smoothly without hitches or unusual sounds, indicating the tracks and springs are working well. If the door does not respond to the remote, ensure it is within range, and check the battery.
Next, attempt to close the door using the remote. The door should seal evenly with the garage floor. If your garage door opener includes safety features such as auto-reverse, test these by placing an obstruction like a piece of wood on the ground where the door would close. The door should reverse upon contacting the obstruction, confirming that the safety features are operational.
Regular testing of the door function after reconnecting the opener ensures safety and longevity of your garage door system. If the door does not operate as expected, repeat the learning process to reestablish the connection or consult the manual for troubleshooting tips.
Contact Professional Support
In cases where the garage door opener fails to reconnect following the steps provided, seeking professional support is a prudent choice. Experts in the field have diagnostic tools and experience to handle complex issues that may not be immediately apparent to homeowners.
Technicians can evaluate the opener’s electronics, wiring, and sensors to ensure they are functioning correctly. They can also identify and fix any malfunctions with the remote controls or keypads. Additionally, regular maintenance by a professional can prevent future disconnection issues and extend the life of your garage door opener.
Attempting to fix intricate electrical components without proper knowledge could lead to further damage or impose safety risks. Therefore, if the reconnection process is unsuccessful or complications arise, don’t hesitate to contact a reputable garage door service. They can provide a swift and reliable resolution, ensuring your garage door opener operates smoothly.