Learn how to reset your garage door opener with ease after engaging the emergency release cord.
Key takeaways:
- Prioritize safety before attempting resets.
- Disconnect power to the garage door opener.
- Engage the release mechanism properly and pull the red cord.
- Reconnect power and re-engage the trolley.
- Test the garage door opener’s functionality.
Prioritize Safety Before Attempting Resets
Ensuring your safety is the foundational step when resetting your garage door opener. Begin by confirming the door is in the down position to prevent it from dropping suddenly and causing injury or damage. Keep hands and clothing away from moving parts and the door’s path to avoid entrapment. Always handle the red cord and other components gently to maintain their integrity. If the task seems beyond your capability, or if you spot signs of wear and damage, consider seeking professional assistance to avoid potential hazards.
Disconnect Power to the Garage Door Opener
Before performing any adjustments, disconnecting the power is a crucial safety step. It eliminates the risk of accidental activation of the door while you’re working on it, which could lead to injury or further damage to the door mechanism.
First, locate the power cord for the garage door opener on the ceiling and unplug it from the electrical outlet. If the opener is hardwired into the electrical system, shut off the circuit breaker or remove the fuse that controls the power to the opener to ensure there’s no electrical current flowing to it.
While the power is off, it’s also a good time to visually inspect the opener for any signs of wear or damage, such as frayed wires or loose hardware. Addressing these issues before restoring power can prevent future malfunctions. Remember that once the power is off, the garage door will need to be operated manually, so ensure it’s in the closed position before proceeding.
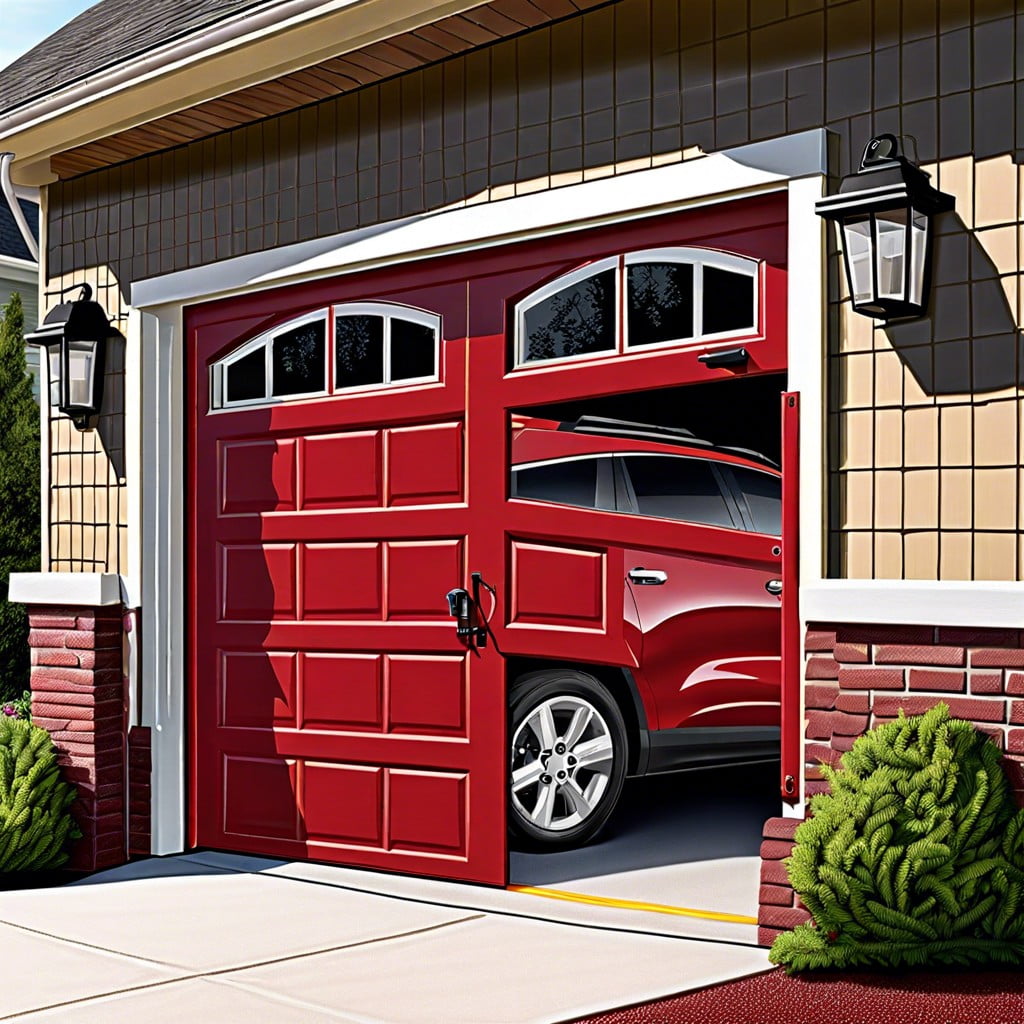
Engage the Release Mechanism Properly and Pull Red Cord
The release mechanism, typically marked by a red cord, allows manual operation of the garage door during power outages or if the opener fails. Proper engagement ensures the door can return to automatic function without issues.
- To engage this system:
- Locate the red cord hanging from the garage door track’s lever. This lever is often connected to the trolley, which moves the door.
- Ensure the garage door is fully closed to prevent it from rapidly falling open, which could cause damage or injury.
- Firmly pull the red cord down and away from the motor. This action disconnects the trolley through the release mechanism and allows manual movement of the door.
- Verify the release by manually lifting the door slightly. It should glide easily with the opener disengaged. If it doesn’t, check the cord’s connection to the lever and try pulling again.
Manipulating this system won’t correct underlying problems with the opener, but it’s essential for subsequent steps, like reconnecting power and re-engaging the trolley. If the door doesn’t stay in place when lifted or feels heavy, have the springs checked by a professional, as the issue could be balance-related and not with the opener itself.
Reconnect Power and Re-engage the Trolley
Once you’ve manually opened and closed the garage door to ensure it’s correctly aligned on the tracks, it’s time to restore power to the garage door opener. Ensure the door is in the down position before proceeding—attempting to re-engage the trolley with the door in an up position can cause damage or injury.
To re-engage the trolley, you’ll typically need to physically maneuver it back into position. This is done by pulling the red cord in the opposite direction, towards the motor unit. Some models may require you to pull the cord down, while others may need a slight tug towards the garage door. In any case, the action should be smooth and steady.
As the trolley reconnects, you should hear a click or see it latch into place, indicating the mechanism is now ready to operate via the motor. If your opener has a separate lock button, ensure it’s not engaged, as this can prevent motor operation.
Finally, test the opener’s functionality with the remote control or wall switch. The door should respond to the opener’s commands and move freely. If it does not, double-check the engagement of the trolley and confirm that the opener is getting power. If problems persist, consider consulting the owner’s manual or calling a garage door professional for assistance.
Test the Garage Door Opener’s Functionality
After reconnecting the power and ensuring the trolley is engaged with the carriage assembly, it’s vital to confirm that your garage door opener is functioning correctly. Begin by using the remote control or wall button to operate the door. It should respond by opening or closing smoothly.
Observe the door’s movement; it should be continuous and without any hitches. If the door reverses automatically during closure, this might indicate the need for limit switch adjustments. Consult your opener’s manual on how to fine-tune these settings.
If the remote control does not initiate the opener, verify the batteries and check if the remote is properly programmed to the unit. Some openers require reprogramming after a power outage or after the emergency release is activated.
Finally, perform a safety reversal test by placing an obstruction, like a piece of wood, on the threshold of the door. On hitting the obstacle, the door should reverse direction as a safety precaution. If it fails to do so, immediately consult a professional for a safety inspection and necessary repairs.