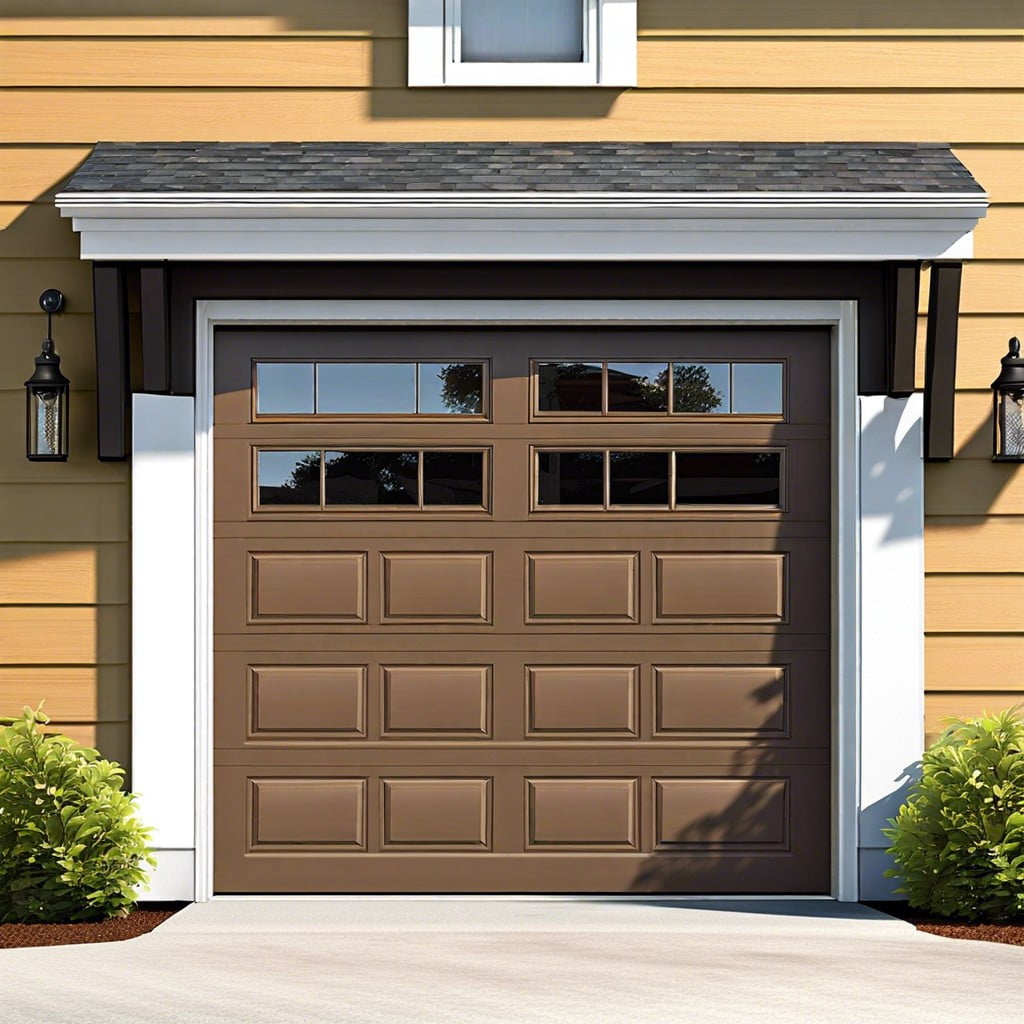
Learn how to seal garage door side gaps to keep out drafts, pests, and moisture with easy, effective methods.
Key takeaways:
- Identify and measure garage door side gaps
- Importance of weather-sealing for energy efficiency, pests, moisture, security, and belongings
- DIY solutions: weatherstripping, foam tape, garage door threshold seal, adjustable door sweep
- Using weatherstripping: measure, choose material, clean surface, peel and stick, seal the deal
- Professional solutions offer tailored solutions, expertise, inspection, quick installation, and warranties
Identifying and Measuring Garage Door Side Gaps

First things first, grab a flashlight and give your garage door a close inspection. You’re on the lookout for any slivers of daylight peeking through the sides.
- Start by closing the garage door completely. Make sure it’s snugly shut.
- Stand inside the garage with the lights off and the door shut, then shine the flashlight around the edges. If you see light sneaking through, bingo – you’ve found the gaps!
- Use a tape measure to determine the size of the gaps. Measure both the height and width of these pesky openings. Write these measurements down; you’ll need them when selecting weatherstripping or other sealing materials.
Remember, even small gaps can let in a draft, insects, or worse – your neighbor’s cat. Strip the mystery away, and get measuring!
Importance of Weather-Sealing Your Garage
Keeping your garage sealed isn’t just about keeping out the drafty cold or sweltering heat. It’s like adding a sturdy moat around your castle. Here’s why it’s important:
First off, energy efficiency skyrockets. Those gaps around your garage door are like tiny black holes munching on your heating and cooling efforts. Seal them up, and your HVAC system won’t have to work overtime.
Next on the checklist—pests. Critters and creepy crawlies love sneaking in through those gaps. By closing them off, you’re putting up a solid “No Vacancy” sign for undesired guests.
Say goodbye to moisture woes. Unsealed garages can let in rainwater or even snow, leading to unwanted dampness. Moisture can set the stage for mold, mildew, and eventually, costly damage.
You’ll also enjoy better security. Gaps make it easier for anyone to pry open your garage door. Sealing them doesn’t just keep out drafts but also keeps out intruders.
Finally, it’s all about the stuff inside. Whether you store tools, cars, or relics of hobbies past, keeping a stable indoor climate prolongs the life and quality of your belongings.
In short: Seal those gaps, enjoy the perks like a pro.
DIY Solutions for Sealing Garage Door Side Gaps
Grab your tools, it’s DIY time! When it comes to sealing those pesky garage door side gaps, there’s no need to summon a professional just yet. Roll up those sleeves and let’s work some magic with a few simple solutions:
Firstly, consider weatherstripping. This flexible material can easily be applied along the sides of your garage door. It’s like giving your door a big, draft-proof hug.
Next, foam tape is your friend. Adhesive-backed, weather-resistant foam can be cut to size and pressed into place to seal smaller gaps effortlessly. It’s the Band-Aid of garage gaps – quick and effective.
For those slightly larger gaps, try a garage door threshold seal. Made of durable rubber, this miracle worker attaches to the floor and seals the gap when the door is closed. Think of it as a cozy doormat that says “NO” to drafts.
Lastly, if your door has seen better days, an adjustable door sweep might be in order. It’s a simple strip that can be fixed to the bottom of your door, adjustable to ensure a snug fit against the floor.
These DIY solutions don’t just keep out the drafts, they keep out critters too. No one wants a raccoon roommate.
Using Weatherstripping to Fill Garage Door Side Gaps
First, let’s discuss the magical tape known as weatherstripping. It’s an inexpensive hero that seals those pesky sideline gaps in no time. Here’s your game plan:
Measure Twice, Cut Once: Always measure the height of your garage door. Add a little extra length, because it’s better to have too much than to end up short.
Choose the Right Material: Silicone, rubber, and vinyl options are readily available. Rubber tends to be durable and flexible, vinyl is more rigid, and silicone is like the yoga master of weatherstripping, bending effortlessly.
Clean the Surface: Make sure the door’s edges are clean. Any dust or oil can prevent proper adhesion. A clean surface is a sticky surface!
Peel and Stick: Adhesive-backed weatherstripping is your friend. Peel off the backing, align it along the edge, and press it firmly in place. Start from the top and work your way down.
Seal the Deal: Press down along the entire strip to ensure it’s sealed tightly. If it flaps in the wind like Superman’s cape, it’s not doing its job right.
Weatherstripping can be completed in a matter of minutes and saves you from drafts, bugs, and other unwanted invaders. And just like that, gap-be-gone!
Professional Solutions for Sealing Garage Door Side Gaps
Sometimes, calling the pros is the way to go. Expert services ensure precise sealing, which can be crucial for larger or older garage doors.
*Garages that have seen better days might benefit from tailored solutions professionals provide. They have access to high-grade materials and tools that might not be available at your local hardware store.
*Experts can also inspect for additional issues like door misalignment or structural gaps that you might miss. It’s a bit like having a mechanic check your car—sometimes, extra eyes catch what you can’t.
*Installation by a professional is often quicker and cleaner. No fuss, no mess, no need to explain to your neighbors why you’re crawling around the garage door with a flashlight at 10 PM!
Lastly, many professional services offer warranties. If the seal fails, they’ll come back to fix it. Less work for you, more peace of mind. And hey, who doesn’t like a bit of professional pampering for their garage?