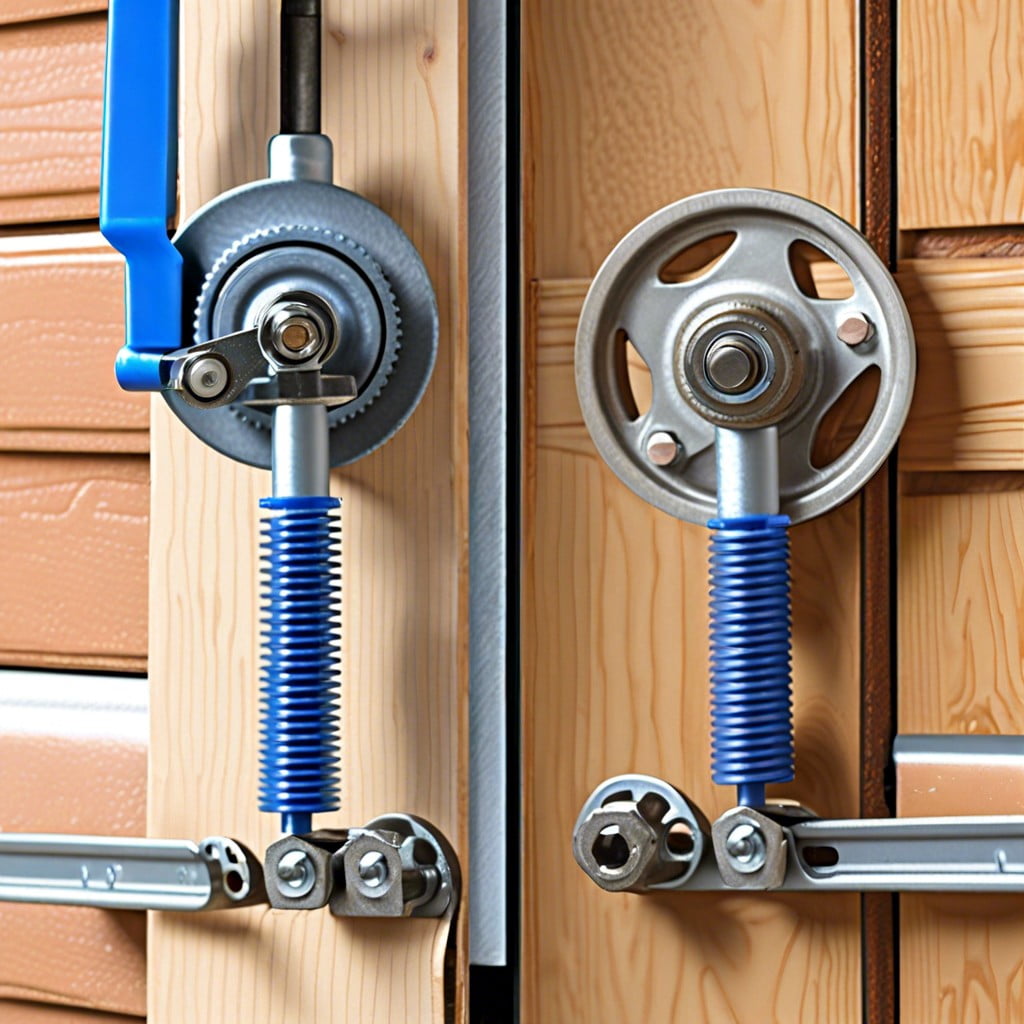
This how-to guide provides step-by-step instructions on safely tightening garage door springs, a crucial maintenance task for proper door operation.
Key takeaways:
- Wear safety goggles and gloves, and work with the door closed.
- Garage doors use torsion or extension springs with specific lifespans.
- Torsion spring adjustment: Find winding cone, loosen set screws, turn cone.
- Side-mounted spring adjustment: Clamp door, loosen set screws, turn collar.
- After adjustment, lubricate, inspect, balance, and maintain the springs.
Safety Precautions

Safety is paramount when tightening garage door springs due to the high tension they’re under. Always wear safety goggles and heavy-duty gloves to protect your eyes and hands from potential injury. Work with the door in a closed position to reduce spring tension and ensure you have steady footing. Disconnect the garage door opener to prevent the door from being accidentally activated during the process. If you’re not experienced with garage door repairs, consider hiring a professional as the tension in the springs can cause serious harm if not handled correctly. Keep a phone within reach to call for assistance in case of an emergency. Remember, if at any point the task feels overwhelming or risky, it is best to seek professional help.
Understanding Garage Door Springs
Garage doors typically use one of two types of springs: torsion springs and extension springs. Torsion springs are attached above the closed garage door, while extension springs run along the tracks on both sides.
Torsion springs use torque to do the heavy lifting. A torsion bar goes through the spring, which is wound to create tension. When you turn the spring, it tightens, storing energy that helps lift the door.
Extension springs, in contrast, extend and contract. They gain tension as the garage door is lowered and release it to help lift the door as it’s raised.
Each spring type has a specific lifespan, usually measured in ‘cycles’. One cycle equals the garage door opening and closing once. Torsion springs generally last longer than extension springs, offering around 10,000-15,000 cycles compared to extension springs’ 7,000-10,000 cycles.
It’s critical to understand that both spring types are under considerable tension. Incorrect handling can lead to serious injury or damage. If you are not experienced with DIY repairs or uncomfortable with the risk, it’s advisable to hire a professional.
Step-by-Step Torsion Spring Adjustment
Before attempting to adjust a torsion spring, it’s critical to prepare the correct tools: winding bars, a wrench, and a sturdy ladder. Always ensure the garage door is closed, and clamped open if necessary, to prevent it from moving while you work on the springs.
To begin adjusting torsion springs, locate the winding cone at the end of the spring. It has set screws that secure the spring in place. You’ll need to loosen these screws slightly but never remove them completely.
With the winding bars inserted into the holes of the winding cone, hold the bar in place and loosen the set screws. Then, carefully and incrementally turn the winding cone with the bars. Each turn applies more tension to the spring. One-quarter of a turn is a common adjustment increment.
After each adjustment, tighten the set screws back down before pulling the winding bars out to test the door balance. If more adjustment is needed, repeat the process.
Keep in mind that torsion springs are under tremendous tension and can cause serious injury or damage if not handled properly. If you are not confident in performing these adjustments safely, it is recommended to seek professional assistance.
Step-by-Step Side-Mounted Spring Adjustment
Begin with the door fully closed for safety, ensuring that the springs are under minimal tension. Unplug the garage door opener to prevent accidental activation.
Secure the door by clamping a vice grip just below the bottom roller on one side. This prevents the door from popping open during adjustment.
Locate the adjustment collar on the spring. This piece usually has two holes that are used to hold the spring in place with winding bars.
Insert a winding bar into one of the holes until it is firmly in place. Hold the bar tightly, as the spring will have tension even in a relaxed state.
Loosen the set screws on the collar with a wrench. Once they are loose, you will be able to adjust the tension. Always keep one hand on the winding bar for control.
Adjust the tension by turning the winding bar. A quarter turn at a time is standard for adjustment. Increase tension by turning the bar upwards, and decrease it by turning downwards.
After making the adjustment, tighten the set screws back onto the collar before removing the winding bar. This secures the new tension setting.
Carefully remove the vice grips and reconnect the opener. Test the door manually first, then with the opener to ensure smooth operation. If the door is not balanced, repeat the adjustment process.
Maintenance After Adjustment
Once the adjustment is complete, consistent maintenance ensures the longevity and safety of your garage door springs. Regularly lubricate the springs with a silicone-based lubricant to minimize friction and prevent corrosion. Inspect the springs for signs of wear or damage every few months, looking specifically for gaps in the coils or any irregularity in tension.
Verify the balance of the garage door periodically by disconnecting the opener and manually opening the door halfway. A well-balanced door will stay in place, while an unbalanced one may fall or rise, indicating the need for a professional adjustment. Check the hardware, including bolts and screws, tightening any that have become loose over time.
Lastly, keep the garage door tracks free of debris and ensure they are aligned to avoid unnecessary strain on the springs. By adhering to these maintenance steps, you can extend the life of your garage door springs and maintain optimal performance.