Learn how to apply an epoxy coating to your garage floor for a durable and attractive finish.
Key takeaways:
- Epoxy flooring transforms a garage into a durable and attractive space.
- Select the right epoxy based on usage, climate, sheen, curing time, and aesthetics.
- Follow a step-by-step process to prepare, mix, and apply the epoxy.
- Maintain your epoxy floor with regular cleaning and avoiding abrasives.
- Epoxy floors are a cost-effective long-term investment compared to other options.
Benefits of an Epoxy Garage Floor
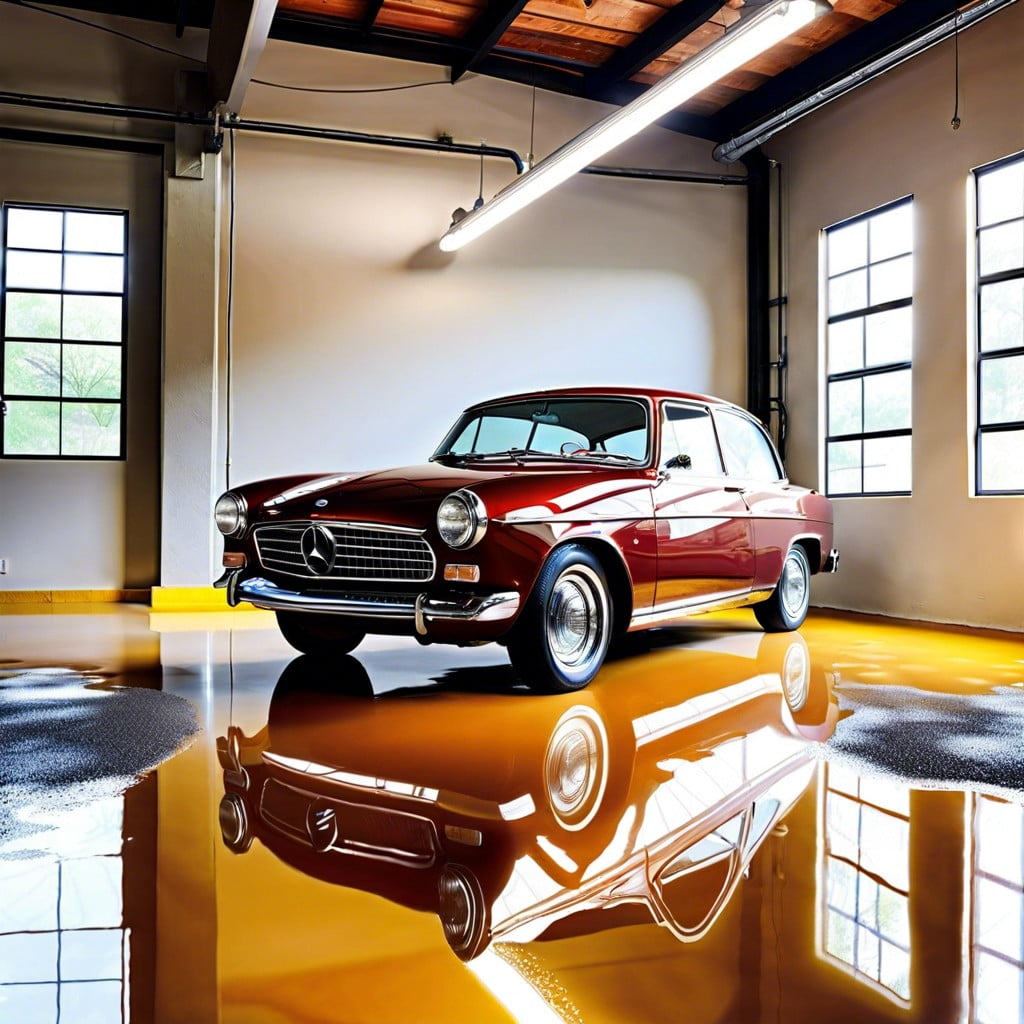
Epoxy flooring transforms a garage from drab to fab by laying down a surface that’s both eye candy and Iron Man tough. Imagine a floor that laughs in the face of oil spills and scoffs at the drag of heavy tools. It’s not just about brawn, though; the smooth, seamless finish makes your garage feel like a showroom.
Think longevity, too. Epoxy stands the test of time, resisting wear and tear much better than its bare concrete counterpart. And when it comes to cleaning, it’s a breeze—no special cleaners needed, just a simple sweep and the occasional mop-up.
Epoxy flooring also plays a role in safety. By adding anti-slip additives to the mix, the risk of taking a tumble is significantly reduced. This feature is particularly clutch when you remember that garages often double as high-traffic workshops or even impromptu kids’ play areas.
Better yet, installing epoxy can be a DIY feather in your cap—or a quick project for a pro. Either way, you’re boosting your home’s value with a floor that stands up to both scrutiny and scuffing. It’s not just a floor; it’s an investment in your home’s form and function.
How to Select the Right Epoxy for Your Garage
Choosing the perfect epoxy for your garage floor hinges on understanding your specific needs and the characteristic differences in epoxy products. Consider the typical usage of your space. Is it simply for parking vehicles, or does it double as a workshop? High-traffic areas benefit from a thicker, more durable epoxy coating.
Reflect on the climate conditions in your region. In areas with significant temperature fluctuations, opt for an epoxy with excellent thermal expansion properties to avoid cracking.
Glossy or matte? The sheen can affect both the appearance and safety of your floor. High gloss options amplify lighting but can be slippery when wet, while matte finishes may be more forgiving.
Investigate the curing time of the epoxy. Some products allow for foot traffic within 24 hours, while others may require several days to fully cure. Planning ensures minimal disruption to your garage use.
Examine the contents of the epoxy kit. Some kits include everything needed for application, while others may require additional purchases, like a primer or sealant.
Lastly, aesthetics play a part too. Epoxies come in various colors and finishes, with options for decorative flakes. Your choice should align with your taste and the overall look you aim for in your garage space.
Step-by-Step Guide to Applying Epoxy to Your Garage Floor
Preparing your garage floor is the first crucial step. Start with a thorough cleaning to get rid of any oil stains or dirt. An industrial degreaser and a stiff-bristled brush can do wonders here. Next, repair any cracks or chips in the concrete to create a smooth surface.
The second step involves etching the concrete. This roughens up the surface, allowing the epoxy to grip firmly. You can use a commercial etching solution, following the instructions closely. Remember, safety first; wear protective gear, including gloves and eye protection.
After the floor is dry and clean, you’re ready to mix the epoxy. This usually comes in two parts: a resin and a hardener. Stir these together according to the product’s directions. Time is of the essence; once mixed, the epoxy has a limited window before it starts to set.
Applying the epoxy comes next. Use a roller to spread the mixture evenly across the floor, starting from the back of the garage and working your way towards the door. For those hard-to-reach corners and edges, a brush is your best friend.
If you wish to add color flakes for slip resistance and aesthetic appeal, now’s the time. Sprinkle them over the wet epoxy, but don’t skimp or overdo it; aim for uniform coverage.
Allow the first coat to cure based on the manufacturer’s recommended time. If needed, apply a second coat to ensure a durable, long-lasting finish. Afterwards, let the final coat cure fully, usually for 24 to 72 hours, before you bring your car or tools back into the garage.
Throughout the process, keep the area well-ventilated. Opened doors and windows help to dissipate fumes and expedite drying. Remember, patience is key; rushing can lead to a less satisfactory result. With these steps, your garage floor will transform, becoming attractive and resilient against the daily wear and tear of garage life.
Maintenance Tips for Epoxy Floors
Epoxy floors are durable, but they’re not impervious to dirt and grime. Regular cleaning with a soft dust mop or a vacuum with a soft brush attachment keeps them in top condition. For a deeper clean, use a hard foam mop and a gentle cleaner, making sure to avoid soap-based products that can leave a residue.
Spills should be addressed immediately to prevent staining. Simply use a paper towel or clean rag to blot liquids. For stubborn stains, a mixture of ammonia and water typically does the trick.
For an occasional shine, a mild floor polish suitable for epoxy coatings will do wonders. However, waxing is a no-go as it can dull the shine over the long term.
Remember, the enemy of epoxy is abrasiveness. Steer clear of steel wool or harsh chemicals that can scratch or damage the surface.
Lastly, for the garage tinkerers and DIY enthusiasts, place a welding mat or a similar protective covering over the floor when working on projects that may involve hot sparks or heavy tools. An ounce of prevention is worth a pound of cure.
Keep these tips in mind, and your epoxy floor will look spick-and-span with a glossy finish to boot for years to come.
Cost Analysis: Epoxy Floors Versus Other Flooring Options
Epoxy offers a competitive edge in cost-effectiveness. Initially, it might appear pricier than paint or bare concrete, but its longevity tells another tale.
Let’s break down the numbers. For a standard two-car garage, applying an epoxy coating might run you between $1,500 to $3,000, depending significantly on factors like floor condition and area. This price typically includes both materials and professional installation.
In contrast, concrete floor paint might seem like a bargain, typically costing about $0.15 to $0.40 per square foot. But looks can be deceiving. Paint lacks durability and will likely require more frequent touch-ups or redos.
Interlocking garage floor tiles come in at $2 to $4 per square foot, not counting installation. They’re sturdy sure, but replacing damaged tiles over time adds up.
Then there’s the high-end option – garage floor tiles made of rubber or plastic. They flex with your budget as well, starting at $3 per square foot and climbing high, not to forget additional costs if you aren’t a DIY enthusiast.
Pouring a new concrete floor can lighten your wallet by about $2 to $4 per square foot, plus it’s a longer downtime for the garage as it cures.
Epoxy comes with a secret weapon – its durability, which tends to range from 10 to 20 years. This cuts down on replacement costs, making it a wise long-term investment for those who plan to enjoy their garage for years to come.
So when you sit down with your calculator and a cup of coffee, consider not just the upfront costs of your garage floor, but also the long game. Epoxy’s fusion of affordability and resilience might just steal the show (and save the coins).