Discover how to effectively repair a malfunctioning garage door cable with straightforward, step-by-step instructions.
Experiencing issues with your garage door cable? It’s a common problem that can be resolved with a bit of time and the right tools.
This article will guide you through the process of fixing the cable, ensuring your garage door returns to its optimal functioning state.
From identifying the problem, choosing the right replacement cable, to the step-by-step process of replacing the cable, this comprehensive guide covers it all.
So, roll up your sleeves and get ready to bring your garage door back to life.
Key takeaways:
- Garage door cables are essential for smooth door operation.
- Signs of a faulty cable include difficulty lifting, uneven movement, and visible wear.
- Necessary tools for cable repair include pliers, wrenches, cable puller, safety glasses, and winding bars.
- Take safety precautions such as disconnecting the opener and wearing protective gear.
- Steps for fixing the cable include disconnecting opener, locating springs and cable drum, removing old cable, and securing the new cable.
Importance of Garage Door Cables to Functionality
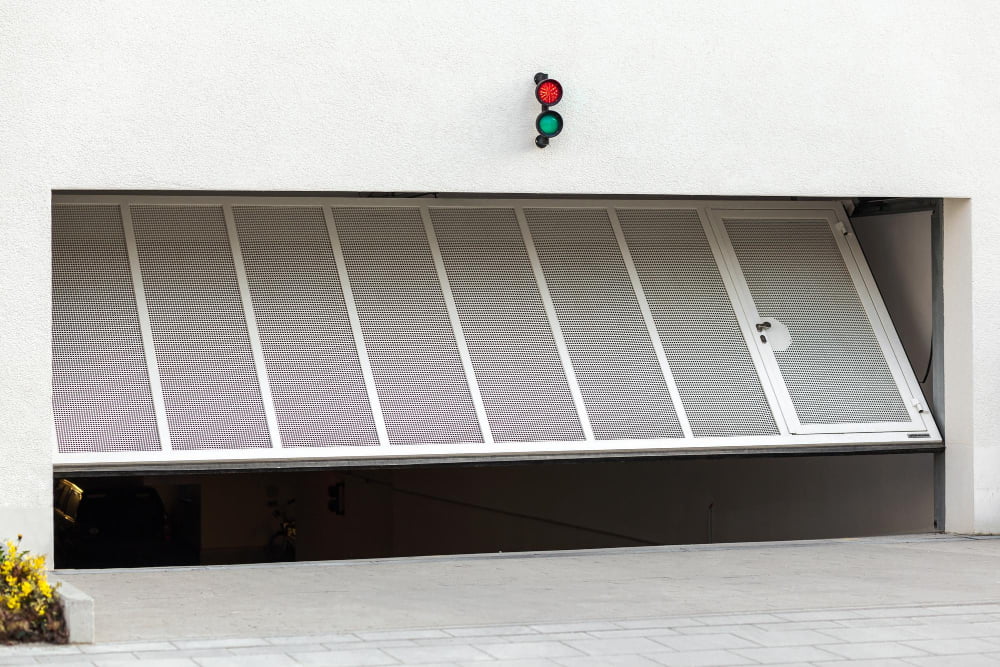
Garage door cables play a pivotal role in the smooth and efficient operation of your door system. These sturdy metal wires, working in unison with the springs, are responsible for the heavy lifting whenever your garage door ascends or descends. They bear the weight of the door, counterbalancing the tension in the springs to allow for effortless opening and closing.
Without them, your garage door could come crashing down or refuse to budge at all. Consequently, a faulty garage door cable compromises not only your convenience but also the safety of your property and its users. Hence, understanding their imperative function can help you recognize the need for immediate repair and maintenance.
Signs That Your Garage Door Cable Needs Repair
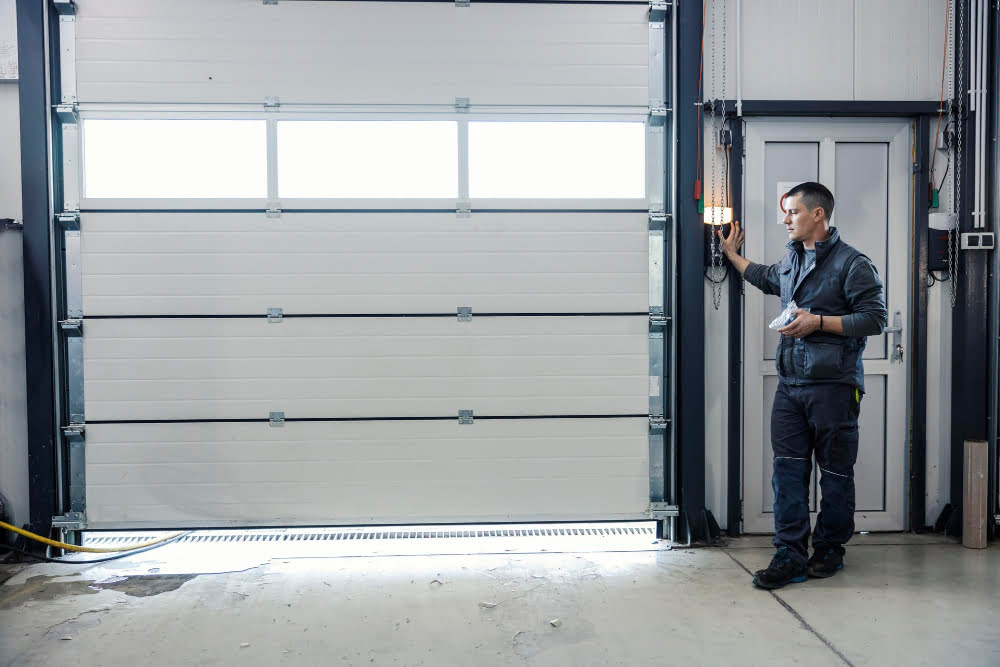
Observing unusual changes in your garage door’s functioning is the first step towards diagnoses. Here are a few telltale indicators pointing towards a potentially faulty garage door cable:
- Difficulty in Lifting the Door: A well-functioning cable reduces tension on the springs, enabling smooth door lifting. However, a broken cable may result in an unusually heavy door.
- Uneven Door Movement: A defective cable could cause your garage door to move unevenly or sit slanted when in a closed state, due to imbalanced tension.
- Loose Cable: It’s rather evident; if your garage door cable is hanging loose instead of wrapped around the drum, it clearly demands attention.
- Visible Wear and Tear: Regular inspection of cables for fraying, rust, or other damage helps identify early signs of wear and tear which could prevent a potential problem.
- Unusual Sounds: Sudden popping or scratching noises during operation might be signs of a struggling cable.
Remember, a thorough understanding of these signs primes you for timely intervention and prevents further damage to the garage door.
Necessary Tools for Garage Door Cable Repair
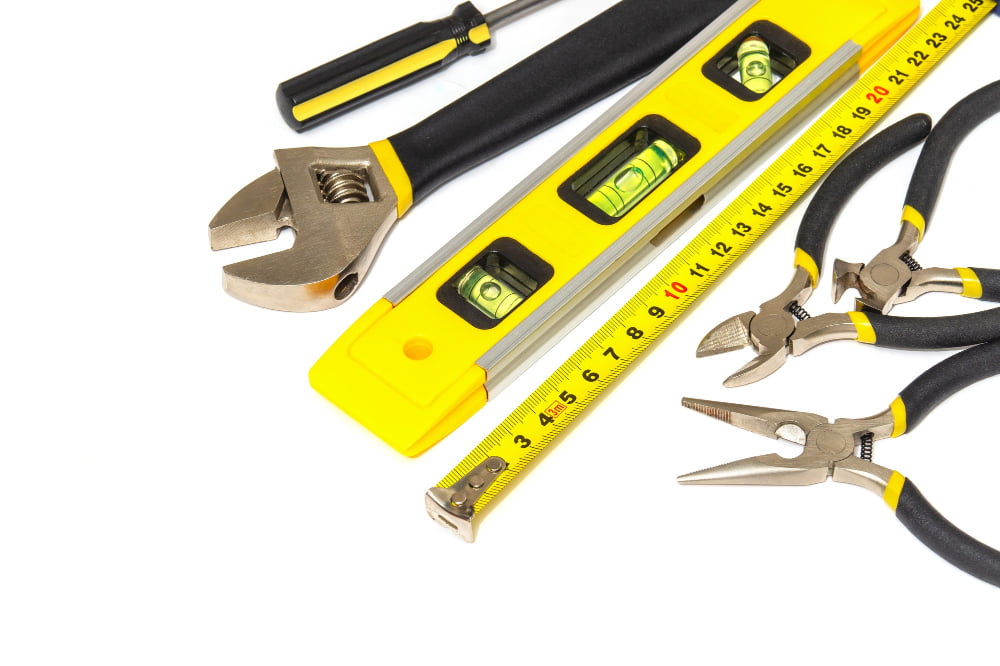
Equipping yourself with the right tools paves the way for a successful repair process. A sturdy ladder will assure safety while working on the higher parts of the door. Various types of pliers, like locking and nose pliers, will aid in removing and replacing the cable. Wrenches, specifically adjustable ones, will help in securing bolts and screws.
A cable puller, though not necessarily in everyone’s toolbox, will make handling the cable tension significantly easier. Do not forget your safety glasses and work gloves to protect you from potential debris and sharp objects.
In addition to these, having a set of winding bars is crucial. They are specifically designed to help adjust tension springs on the garage door, an essential step in fixing cables. A standard screwdriver and a tape measure can come in handy during the process as well.
Lastly, always have the correct replacement cable on hand. Garage door cables vary in thickness and length, knowing the specifications for your particular garage door system is necessary before starting the repair. It’s always better to be prepared rather than halt the process midway due to missing equipment.
Safety Precautions to Take While Repairing Garage Door Cables

Taking safety measures is essential during the repair. First, always disconnect the garage door opener to prevent accidental operation which could lead to serious injury. Second, wear protective gloves and eyewear as you’ll be dealing with small, potentially sharp components. Next, use sturdy, non-slip footwear to maintain good footing, reducing the risk of underfoot accidents.
Also, avoid handling the door directly as a suddenly dropping door can cause great harm. Always have a buffer like a sturdy 2×4 plank between you and the door when dealing with overhead repairs.
Finally, it’s crucial to remember that the springs attached to the cables are under high tension. If in doubt or these springs need a repair, it’s best practice to reach out for professional help as mishandling can lead to grave injuries.
Step-by-Step Guide On How to Fix Garage Door Cable
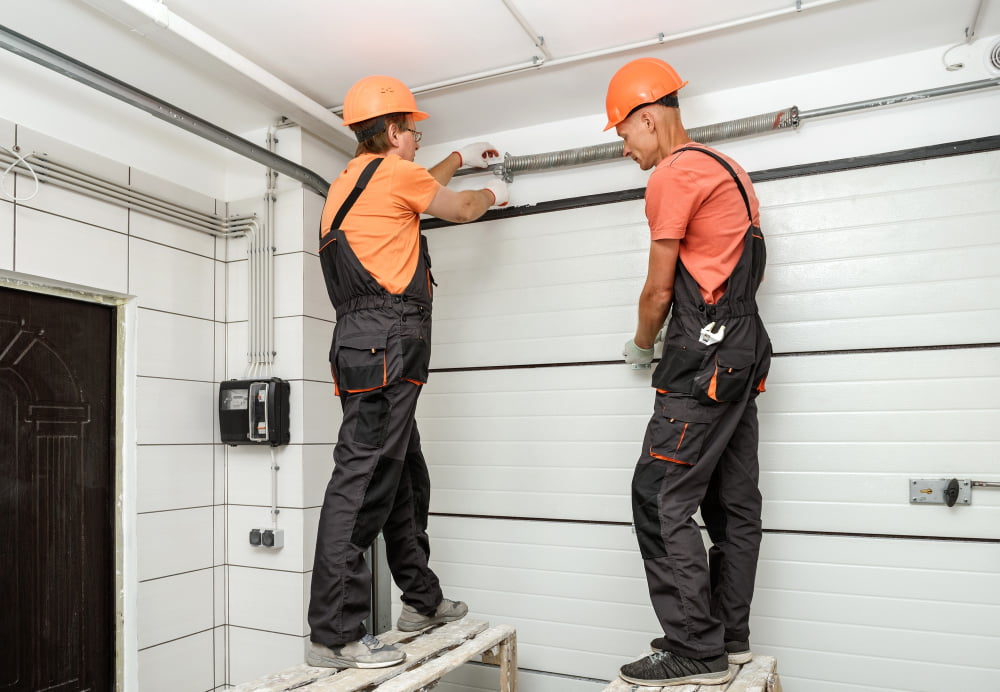
First, disconnect the garage door opener from the electrical outlet to ensure safety during the repair process. Next, open the garage door completely using manual control. Secure it with pliers or locking clamps on the track to prevent it from dropping.
Second, locate the torsion spring and cable drum. The torsion spring is usually located at the top of the garage door while the cable drum is found at either end of the axle where the spring is mounted. Wear safety goggles and gloves at this point for protection.
Third, loosen the set screws on the left cable drum with an appropriate wrench. Be cautious not to entirely remove them. Rotate the drum to unwind the cable off it, then slide it off the shaft. Repeat the process for the right cable drum.
Fourth, remove the old cable. Attach the new cable to the bottom bracket on the garage door. Make sure the cable is fed through the pulley, then run it up and onto the cable drum.
Fifth, ensure the new cable is firmly wound around the cable drum. Secure it by tightening the set screws. Avoid over-tightening as it can cause the cable to fray over time. Finally, reconnect the garage door opener to the electrical outlet.
Remember, this process requires a great deal of caution due to the risk associated with the torsion spring’s tension. If you’re unsure at any point, it’s best to call in a professional. Be mindful to check regularly for signs of wear and tear to avoid future repair needs.
When to Seek Professional Help for Garage Door Cable Repair

Despite the confidence and skill you might have garnered, there are instances where specialist intervention becomes crucial. It often happens if the cable is completely snapped or jammed, due to the risk associated with high-tension springs. Additionally, if after fixing, the door remains unbalanced or still exhibits issues, calling in an expert is advisable.
Consider professional help if you notice persistent or troubling malfunctions even after several attempts at repair. Unresolved hitches often signify further hidden complications that could pose potential risks or damage.
Also, if your time is limited or you lack the proper tools, seeking skilled service ensures the garage door cable is fixed both quickly and correctly. Remember, experts have the knowledge and resources to deliver long-lasting solutions. By understanding the limits of your skills, you can keep your garage door well-maintained and safe to use.
Maintaining Garage Door Cables to Prevent Future Problems
After completing the required repairs, it’s crucial to establish a proper maintenance routine to ensure longevity and peak performance. Regular checks should be carried out to ensure the cables are functioning properly and are not showing signs of undue wear and tear.
1. Inspect the cables: Check if they are frayed or severed at least once every six months. This will enable timely detection of any potential issues that could lead to bigger problems.
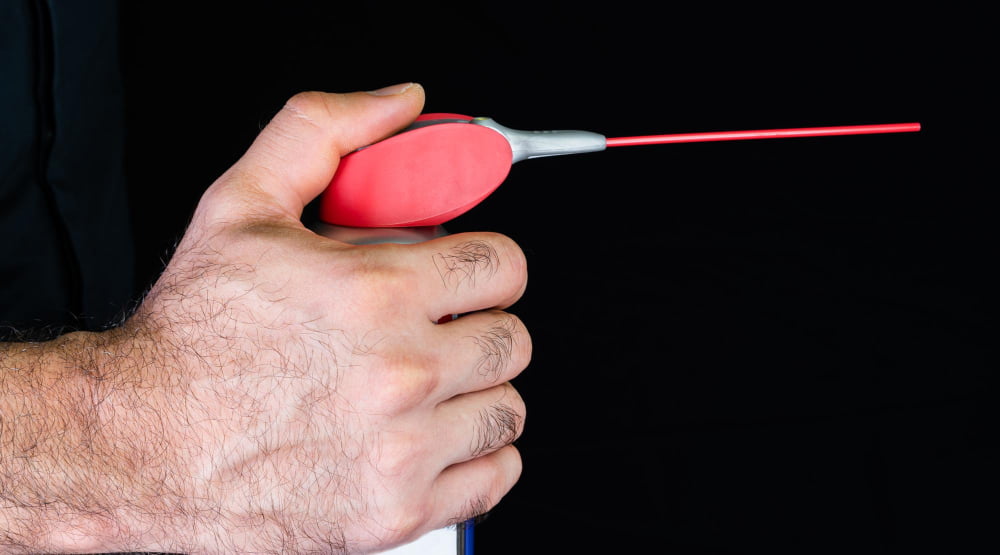
2. Lubricate the cables: It’s highly recommended to lubricate your garage door cables at least twice a year. A silicone-based lubricant is ideal as it will not attract dust or grime. This reduces friction and enables smoother operation, reducing the likelihood of damage.
3. Check balance and tension: The balance and tension of the door cable significantly influence its operation. Ensuring they are balanced and sufficiently tensioned helps prevent unnecessary strain and premature wear.
4. Regular cleaning: Dust and debris accumulation can cause the cables to degrade faster. Regular cleaning can help maintain their life.
5. Keep a track of cable alignment: Misaligned cables can lead to uneven wear and potential breakage. Ensuring they are in alignment will help elevate their productivity and longevity.
FAQ
Can you manually open a garage door with a broken cable?
Yes, you can manually open a garage door with a broken cable, although it is generally not advised.
What causes garage door cable to come off?
Garage door cables come off due to several reasons including, setting the door down on an object, degradation due to corrosion, spring breakages and improper tension in the counterbalancing system.
What are the key signs indicating a wear-and-tear in your garage door cable?
Key signs indicating wear-and-tear in your garage door cable may include fraying or snapping of the cables, irregular or jerky door movements, slack in the cables, or the inability of the garage door to open or close properly.
How costly can a garage door cable replacement be?
The cost to replace a garage door cable typically ranges from $150 to $200, including both materials and labor.
Is routine maintenance effective in prolonging the life of garage door cables?
Yes, routine maintenance is effective in prolonging the life of garage door cables.