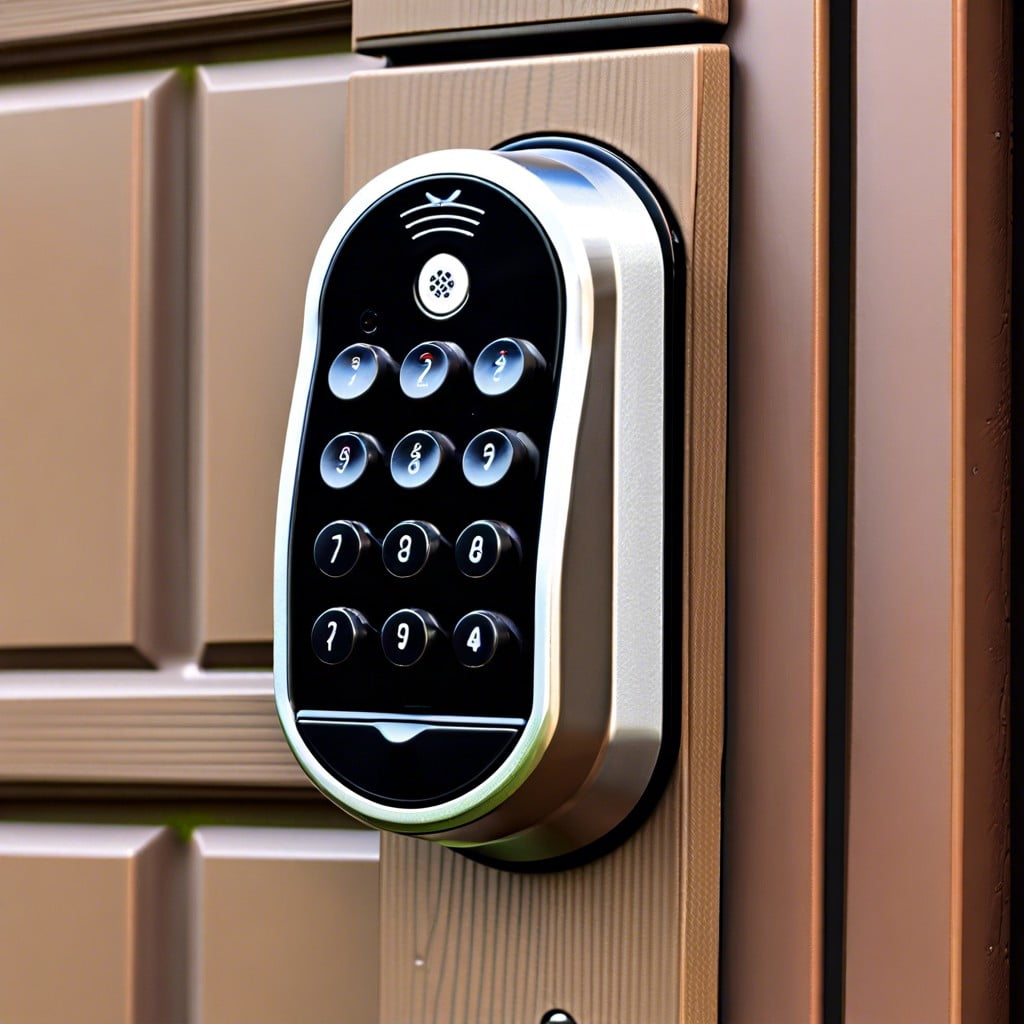
Learn how to reset your garage door keypad with these simple, step-by-step instructions.
Key takeaways:
- Resetting your garage door keypad enhances security and convenience.
- Check and replace weak or expired batteries before resetting.
- Clear the motor’s memory by pressing and holding the “Learn” button for six seconds.
- Choose a strong and memorable new code for your keypad.
- If keypad issues persist after changing the batteries, proceed with a full reset.
Reasons to Reset Your Garage Door Keypad

Resetting your garage door keypad might sound like planning an escape route from Alcatraz, but it’s actually much simpler and can be crucial for safety and convenience. Here’s why you might want to consider it:
- Security update: If you suspect that your code has been compromised or if it’s simply been shared with too many contractors, babysitters, or neighbors, changing it can help secure your garage and home again.
- After a power outage: Sometimes electronic systems throw a tantrum after power interruptions and refuse to recognize your existing code. A reset can help restore order in the universe, or at least in your garage.
- Functionality problems: If entering your super-secret spy code no longer works and you’ve ruled out other issues like dead batteries or signal interference, resetting might be the secret handshake your keypad is waiting for.
- Memory clearance: Just like us, sometimes your system needs to forget. Resetting can clear all programmed entries, especially useful when moving into a new home.
By considering these points, you ensure your garage door keypad serves its purpose without becoming an accidental welcome mat for unwanted guests.
Check Your Batteries Before Resetting
Before diving into the reset process, it’s crucial to ensure your keypad is actually ready to accept a new code. Weak or expired batteries can often masquerade as programming issues, leading you on a wild keypad chase.
Firstly, swap out the old batteries for fresh ones. This simple move might save you from unnecessary troubleshooting that could lead to questioning your technical prowess. Good battery power ensures the keypad gets all signals loud and clear.
Secondly, after changing the batteries, try inputting your current code to see if the issue resolves itself. It’s like giving your garage door a gentle nudge before going full tech-warrior on it. This can confirm whether the problem was really about the batteries or if it’s time for a full reset. Remember, it’s easier to face the beep of a keypad than the silence of confusion!
Reset Your Motor’s Memory
Before updating your garage door keypad, ensure the old code is wiped from the system. This process, often dubbed ‘brain surgery’ for your garage door, is less complicated than it sounds! Locate the “Learn” button on the motor unit—this is usually hanging from the ceiling of your garage.
Press and hold the “Learn” button for about six seconds until the LED light beside it goes out. Congratulations, you’ve essentially given your garage door motor amnesia! This action clears all previous settings, ensuring that old access codes are no longer functional.
This step is crucial because it ensures that your new code is the only one that can operate the door, giving you peace of mind and added security. The button might play coy, tucked behind a light cover, so you might have to engage in a minor game of hide-and-seek. It’s a small price for security, right?
Input Your New Code
After you’ve effectively wiped the slate clean on your garage door opener’s memory, it’s time to usher in the era of your new security code. Don’t let the simplicity fool you; choosing a strong code can be as crucial as the lock on your front door!
- Creature Comforts: Opt for a code that’s easy to remember but not too obvious. Avoid birthdays and straight sequences.
- The Magic Numbers: Your new code typically needs to be a sequence of 4 to 6 digits. Ensure it’s a blend you can recall even after a long day or a vacation.
- Dance of the Fingers: When inputting the code, ensure each keypress is registered. Sometimes keypads need a firmer press, especially if the weather’s been showing them who’s boss.
- A Confirmation Salute: Most systems flash a light or beep to confirm that your new code is set. No acknowledgment? You might need to repeat the process, ensure you’ve ticked all the boxes!
Congratulations, you’re on your way to mastering the art of keypad codes! Remember, keeping your code hush-hush is easier than replacing stolen Christmas decorations.
Changing Your Keypad Battery? Here’s What You Need to Know
Before tackling the code reset, ensure your keypad battery isn’t the culprit in your keypad woes. Keypad batteries typically last 1-2 years, depending on usage. Swapping out an old battery is quick and easy. Simply slide the cover down or press the release button to access the battery compartment.
Use a fresh 9-volt battery, which is the standard for most keypad models. Align the battery terminals correctly—mixing these up might buy you a ticket to frustration town!
After replacing the battery, test the keypad with your existing code to confirm it’s functioning. If there are still issues, then moving forward with a full reset is your next step. A new battery not only ensures smoother operation but can also be the painless fix you need before diving into more complex reset procedures.