Learn how to effectively repair your garage floor, addressing common issues from cracks to wear, and restore its durability and appearance.
Key takeaways:
- Tools Required: Wire brush, chisel, trowel, grinder, roller, caulking gun
- Materials Required: Concrete patching compound, epoxy filler, aggregate, bonding adhesive, sealer
- Recognize Warning Signs: Cracks, stains, unevenness, pitting, scaled areas, pooled water
- Concrete Floor Patch: Clean, widen, select compound, trowel, cure
- Repair or Replace: Evaluate damage, consider cost, age, and future use
Tools Required
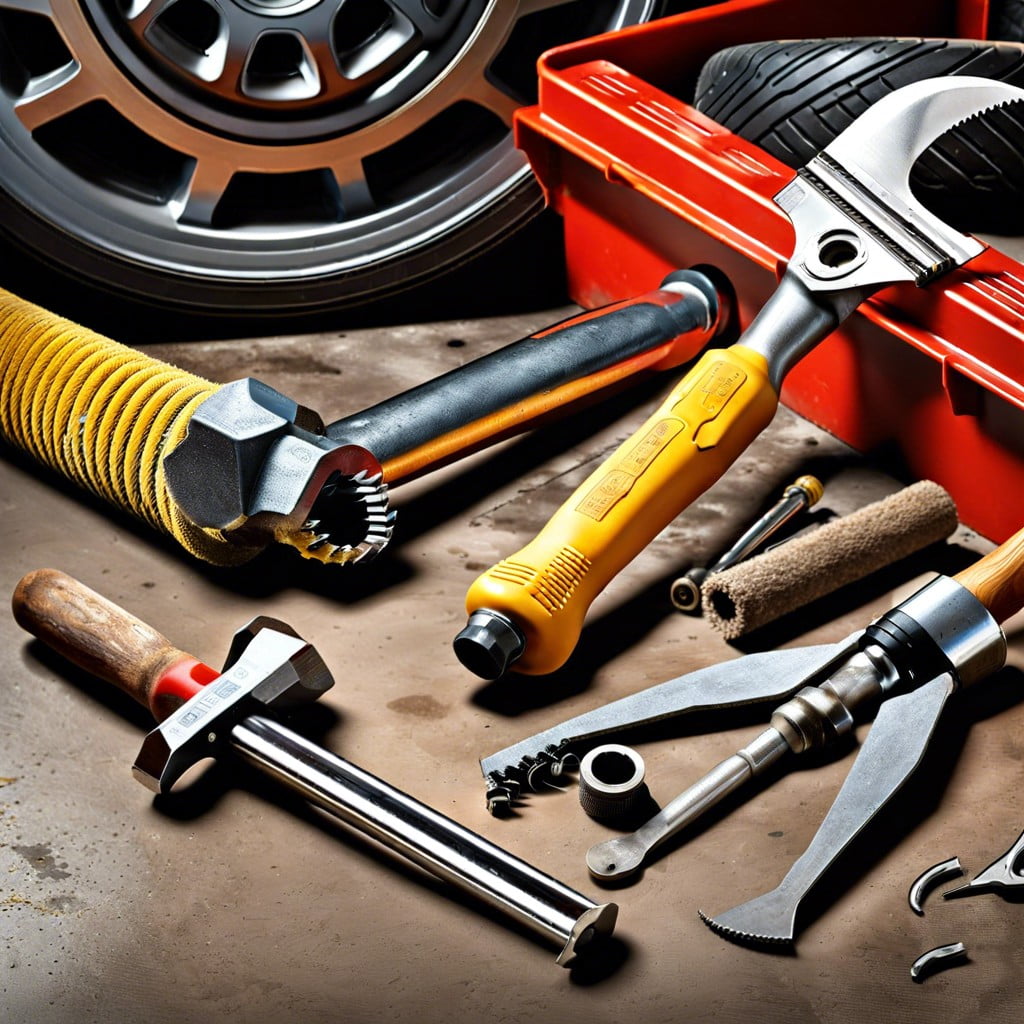
Equipping yourself with the right tools is essential for efficient and effective garage floor repair. For minor crack repairs, enlist a stiff wire brush to thoroughly clean the affected areas. A chisel and a hammer prove useful to chip away any loose debris. Larger repairs will benefit from a masonry grinding wheel attached to a handheld angle grinder, ideal for creating a clean, fresh surface for the repair material to bond.
When dealing with leveling and smoothing patching material, a trowel is indispensable. For applying sealants or epoxy coatings, you will need a paint roller with an extension pole to ensure an even application across the entire garage floor surface. To finish, a caulking gun will ensure precision when filling in expansion joints or seams.
Safety should not be overlooked. Protective eyewear, gloves, and a dust mask provide essential protection against flying particles and harmful dust. This proactive approach to safety can prevent injury and ensure a comfortable working environment.
Materials Required
Before initiating garage floor repair, assembling the right materials is crucial to ensure the job is done effectively and efficiently. For handling cracks and small imperfections, a concrete patching compound is essential. It’s designed to adhere to the existing concrete and fill in fissures. For larger issues such as craters or pits, an epoxy filler might be necessary, this dries quickly and forms a strong, durable surface.
Aggregate might be required as well, especially if you’re dealing with deeper repairs. It provides structural support and helps the new concrete bind with the old. A concrete bonding adhesive can also play a pivotal role in ensuring a secure and lasting repair by creating a stronger bond between the old and new concrete.
Sealer is another essential material. After the repair is complete, sealing the concrete will help protect the surface from future wear and damage, extend its lifespan, and ease maintenance. Epoxy or urethane based sealers are popular choices for their resilience and protective qualities.
It’s also important to note the need for safety materials such as gloves, safety glasses, and masks because concrete repair can involve handling rough materials and possibly hazardous chemicals. Prioritizing personal safety is as important as ensuring a successful repair.
Recognizing the Early Warning Signs of Garage Floor Damage
Awareness of your garage floor’s condition can prevent minor issues from turning into costly repairs. One telltale sign of damage is the presence of cracks, which often result from the concrete’s reaction to temperature changes or the weight of vehicles. Hairline fractures might seem insignificant but can expand and lead to greater structural problems. Stains from oil and chemicals can indicate the floor’s sealant has weakened, making the surface more vulnerable to damage. Additionally, if you notice areas where the floor has become uneven or has started to pit and scale, the integrity of the concrete may be compromised, suggesting the need for repair. Pooled water or moisture beneath flooring materials can be a symptom of a crack or break in the concrete, potentially leading to mold and further deterioration. Keep an eye out for these signs to address repair needs promptly and maintain a safe, durable garage floor.
Concrete Floor Patch: Fill Cracks, Craters, Divots and Pits
Addressing imperfections in a garage floor starts with cleaning the affected area thoroughly. Remove any loose debris and dirt, ensuring a clear workspace. Next, prepping the crack or pit is crucial—widen the base of cracks with a chisel to secure a better hold for the repair material.
Select a concrete patching compound suitable for your floor’s condition. Epoxy-based compounds offer strength and durability for deeper or larger areas needing repair. For smaller cracks or divots, a vinyl-reinforced patching compound might suffice, offering easier application and fast drying times.
Mix the compound according to the manufacturer’s instructions, then trowel it into the damaged areas, pressing firmly to ensure good adhesion and elimination of air pockets. Feather the edges to blend seamlessly with the surrounding surface.
Allow the compound to cure as per the specified timeline—this may vary, but it’s typically at least 24 hours before you should subject the floor to any heavy use. During the curing process, maintain a temperature above freezing to ensure the integrity of the repair. Once cured, your garage floor should be smooth, resilient, and ready for use.
Should You Go With a Garage Floor Replacement or Garage Floor Repair?
Deciding between garage floor repair and replacement involves evaluating the extent of the damage and considering cost implications. For minor issues such as small cracks or pitting, repairs can be an effective solution. They are less expensive and can be done relatively quickly. Repair kits are readily available and can address small problems before they escalate.
In contrast, significant issues like large cracks, severe spalling, or a floor that is uneven may warrant a complete replacement. This is especially true if the floor has extensive damage that affects its structural integrity. Replacement provides the opportunity to start anew, potentially upgrading to a more durable material or applying a finish that offers better protection against future damage.
It’s also important to take into account the age of the floor. An older floor that has seen multiple repairs over the years might be due for a replacement, providing an opportunity for a fresh start with a floor that will last for decades with proper maintenance.
Lastly, consider the future use of the garage. If it’s going to accommodate heavy equipment or vehicles, investing in a new, sturdy floor might be the most practical and cost-effective choice in the long term.