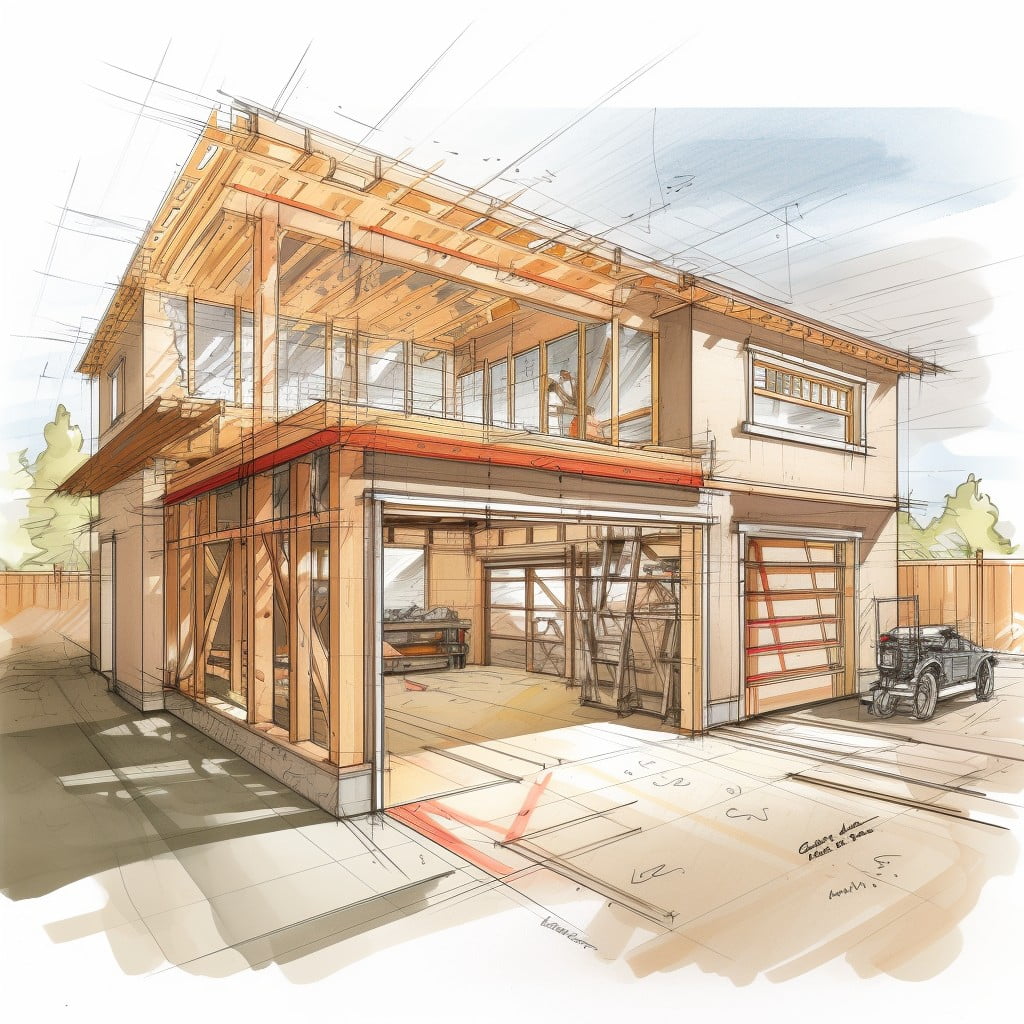
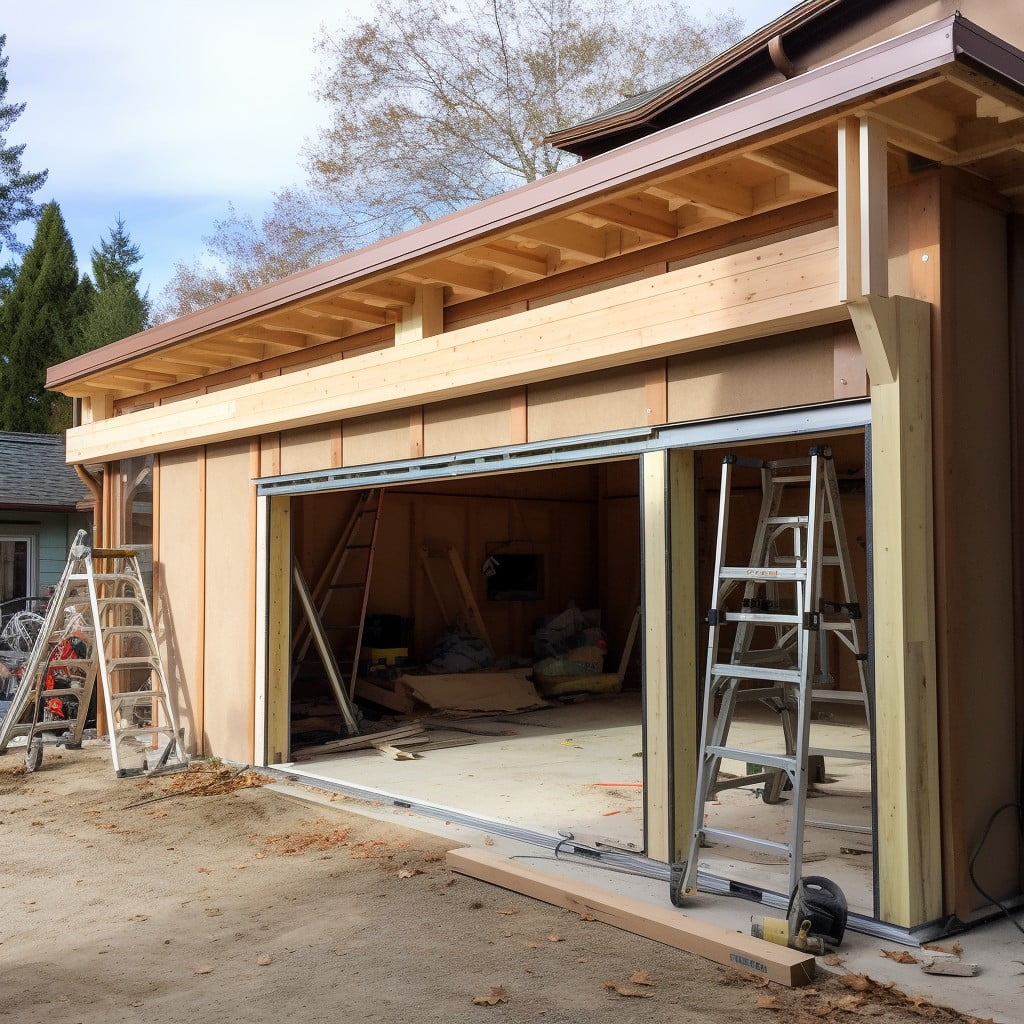
Discover a step-by-step guide on framing a garage door to enhance both the functionality and aesthetics of your garage.
Framing a garage door is a crucial step in constructing a functional and durable garage. This process involves creating a rough opening for the garage door to fit into, ensuring that it is level, square, and the correct size for your chosen door.
The task may seem daunting, but with the right tools, knowledge, and patience, it’s entirely achievable. This article will guide you through the process, providing detailed instructions and expert tips to help you achieve a professional result.
Whether you’re a seasoned DIY enthusiast or a novice builder, you’ll find the information you need to frame your garage door correctly.
Key takeaways:
- Understanding Garage Door Framing: King studs, trimmer studs, header size, sill plate.
- Choosing the Right Garage Door Height: Consider vehicle size and local codes.
- Framing the Rough Garage Door Opening: Measure, set up header, install studs, anchor bottom plate.
- Correctly Executing Final Garage Door Framing: Attach header, trimmer studs, brace frame, level sill.
- Avoiding Common Mistakes in Garage Door Framing: Measure accurately, include king studs, provide header support, weatherproof, level sill.
Understanding Garage Door Framing

Garage door framing is a vital component of installing a functional, secure, and safe garage door. It forms the foundation and typical hierarchy for the garage door assembly. Primary aspects include king studs, which lend vertical support and are integral pieces running floor to ceiling. Alongside king studs are the trimmer studs, lending enhanced support to the header above the door.
Header size is another important factor and will vary based on the width of the opening. A correctly sized header is essential for transferring weight from above to the foundation below. Lastly, the sill plate connects with the base of the wall and creates a baseline for the framing process.
Understanding these constituents improves your application, helping develop robust and reliable garage door framing. Knowledge of these pieces also allows for informed decision making when selecting the correct materials and designs to suit your specific garage requirements.
Choosing the Right Garage Door Height

Opting for the appropriate height is paramount to a successful garage door framing project. Commence by determining the dimensions of the car or any other essential items that will inhabit the garage. Account for some extra space to secure unrestricted movement. Commonly, garage doors range from 7 to 8 feet in height for residential buildings accommodating regular vehicles.
However, if a large vehicle such as an SUV, tractor, or boat is going to be stored, a door height of 9 to 12 feet would be ideal. Commercial buildings or shops may require even taller garage doors. Matching the door frame to the height of the garage door minimizes structural issues and enhances curb appeal. Attend to local codes and homeowners association rules since they may influence your final decision.
Remember, it’s better to overestimate and have more space than you need rather than finding your garage door frame insufficient. The right size promotes safety, efficiency, and ultimate satisfaction in your garage use.
Framing the Rough Garage Door Opening

Prior to installing the garage door, it’s necessary to outline where it will be placed – this is known as the rough opening. Adhere to these steps for accurate framing:
1. Determine Your Measurements: The rough opening should measure the same as the size of the door, allowing a couple inches for the height for settling. Ensure to cross-verify measurements to avoid inconsistencies.
2. Set Up the Header: Situate the header, which is a significant beam that spans the top. It needs to be level and of the right width for supporting the load above the door.
3. Install the King and Jack Studs: These are essential vertical framing components. The king stud reaches from the bottom to top of the wall, while the jack stud supports the header. Put these pieces in place before inserting the door.
4. Anchor the Bottom Plate: The base, or bottom plate, secures the studs. Physically anchor this using a pressure-treated lumber piece to resist corrosion and wear.
By following these steps, you’ll have successfully framed your rough garage door opening. Remember, precision here sets the foundation for the entire installation process.
Correctly Executing Final Garage Door Framing

Once the rough opening is constructed, it’s time to dive deeper into the final framing process. You’ll need to attach a header across the top of the opening, supported by trimmer studs. It’s vital these are structurally sound as they bear significant load.
Now, converging to jamb details, employ relationally sized wood for pairing with door thickness. Pay attention to jamb positioning; they should align vertically with the wall surface, feeling flush upon touch.
Bracing the frame is your next priority. Small truss plates or even sections of plywood serve well, preventing the frame from twisting or warping.
At this stage, you might be inclined to install the door immediately, but patience pays dividends here. Double-check your measurements, comparing with manufacturer requisites, and ensure the sill rests firmly on the floor.
Remember, rushed work today might be cause for regret tomorrow. Following these steps diligently will lead to a sturdy, well-framed garage door.
Avoiding Common Mistakes in Garage Door Framing
Despite your best efforts, minor slip-ups can occur while framing a garage door. Knowledge of such common errors is vital to avoid them.
1. Incorrect Sizing: Measure thrice, cut once. Ensuring you have accurate measurements for the door and the frame is crucial. Oversizing could lead to unnecessary gaps, while undersizing can create tight fits making the functioning difficult.
2. Lack of King Studs: These studs go straight from the top to the bottom of the frame, providing strength. Do not overlook their importance.
3. Inadequate Header Support: The header demands strong support; else it can lead to sagging and subsequently, improper functioning of the door.
4. Neglecting Weather Stripping: Don’t ignore insulation and weatherproofing, they secure the garage from harsh external conditions.
5. Failing to Level the Sill: As a foundation point, the sill or floor must be level for the door to operate smoothly.
By being conscious of these points, you can avoid revisiting and redoing your framing work.
Carrying Out Post-framing Maintenance for Garage Door
Once the garage door frame is in place, continually maintaining its integrity is crucial. Here are some points to ensure its longevity:
1. Regular Inspection: Make it a habit to visually inspect your garage door frame for signs of wear and tear. Look for cracks, bowing, or warping, especially after extreme weather.
2. Weatherstripping: Essential for preventing water ingress and corrosion, weatherstripping, should be checked and replaced promptly if found damaged.
3. Cleaning: Clean the framework regularly to prevent dirt buildup, which can cause the garage door to stick or operate incorrectly.
4. Painting: Paint acts as a barrier against moisture and pests. It is recommended to apply a fresh coat every few years, depending on the frame material and local weather conditions.
5. Adjustments: Ensure that your garage door opens and closes smoothly. Adjustments may be needed over time as the building naturally settles.
6. Professional Examination: At least once a year, have a professional conduct a thorough examination of your garage frame. They can spot underlying issues and provide expert repairs to prevent further damage.
Selecting the Optimal Garage Door: Key Considerations
When choosing the optimal garage door, it’s essential to consider the material and style that best match your home’s aesthetic and your maintenance preferences. For example, steel garage doors are highly durable and low maintenance, however, they can be susceptible to rust, particularly in coastal areas. Wood doors, on the other hand, often offer timeless beauty and charm, but require regular upkeep.
Functionality plays a vital role as well. Insulated doors are recommended for garages that double as workspaces, helping to regulate temperature and noise levels. Moreover, remember to measure your garage’s width and height accurately to ensure the door fits perfectly, and don’t forget to account for necessary clearance for tracks and springs.
Lastly, the door’s safety features, such as pinch-resistant and tamper-resistant designs, should not be overlooked to ensure the garage remains secure and injury-free. Consumer reviews and energy efficiency ratings can also aid in the decision-making process. These considerations will guide you towards selecting the door that best suits your needs, lifestyle, and budget.
FAQ
What is the rough opening for a garage door?
The rough opening for a garage door should be identical to the door's size, with common widths being 8', 9', 10', and 16', and common heights being 7' and 8', while also considering the headroom, which is the distance between the top of the door and the ceiling or any obstructions.
What height should I frame my garage door?
The frame height for your garage door should typically be approximately 18 inches above the header.
What are the necessary materials for framing a garage door?
The necessary materials for framing a garage door include pressure-treated lumber (2x4s, 2x6s, or 2x8s depending on the frame size required), a circular saw or miter saw, a nail gun or hammer, nails, a level, a measuring tape, and a pencil for marking.
How to account for insulation in the garage door framing process?
During the garage door framing process, consider the thickness of insulation by ensuring the frames' depth is adequate to accommodate it without compromising the door's operation.
What common mistakes should be avoided when framing a garage door?
Common mistakes to avoid when framing a garage door include not taking accurate measurements, using improper tools, and not aligning the frame vertically.