Discover the step-by-step process of insulating a garage ceiling to increase energy efficiency and comfort in your workspace.
Insulating a garage ceiling is a practical way to enhance your garage’s energy efficiency and comfort level. This process involves selecting the right insulation materials, measuring and cutting the insulation, and securing it in place.
Whether you’re looking to transform your garage into a livable space or simply want to keep the temperature controlled, insulation is a smart move.
In this article, you’ll find a detailed step-by-step guide on how to insulate your garage ceiling, from choosing the right materials to the actual installation process, ensuring you have all the information needed to complete this home improvement project efficiently.
Key takeaways:
- Determine if your garage ceiling is already insulated
- Understand the necessity of garage ceiling insulation
- Choose the right material for garage ceiling insulation
- Familiarize yourself with different types of garage insulation
- Follow proper techniques for installation and prioritize safety
Determining If Your Garage Ceiling Is Already Insulated
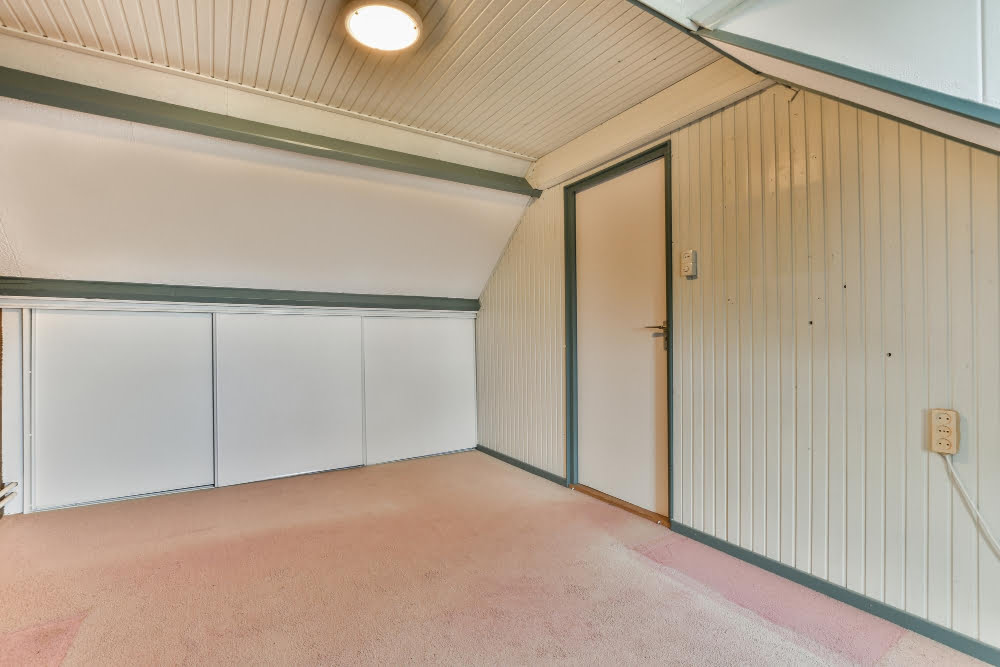
Ensuring that your garage ceiling is already insulated is crucial before initiating any new insulation projects. Start by visually inspecting the ceiling. Look for any signs of existing insulation, such as batt insulation visible between ceiling rafters or spray foam applied directly to the ceiling. Another telltale sign is the presence of an insulating material – typically fluffy and thick – that covers the ceiling’s surface.
Alternatively, you can perform a touch test. Areas without insulation, especially during extreme temperatures, will feel either very cold or hot compared to insulated parts. GA targeted energy audit may also be worth consideration. Professionals can reveal hard-to-spot insulated areas and assess their effectiveness.
Lastly, examine your energy bills. Unusually high energy expenses might suggest gaps in insulation, as heat loss will cause your heating system to work harder in the winter, and cool air to escape in the summer.
The Necessity of Garage Ceiling Insulation
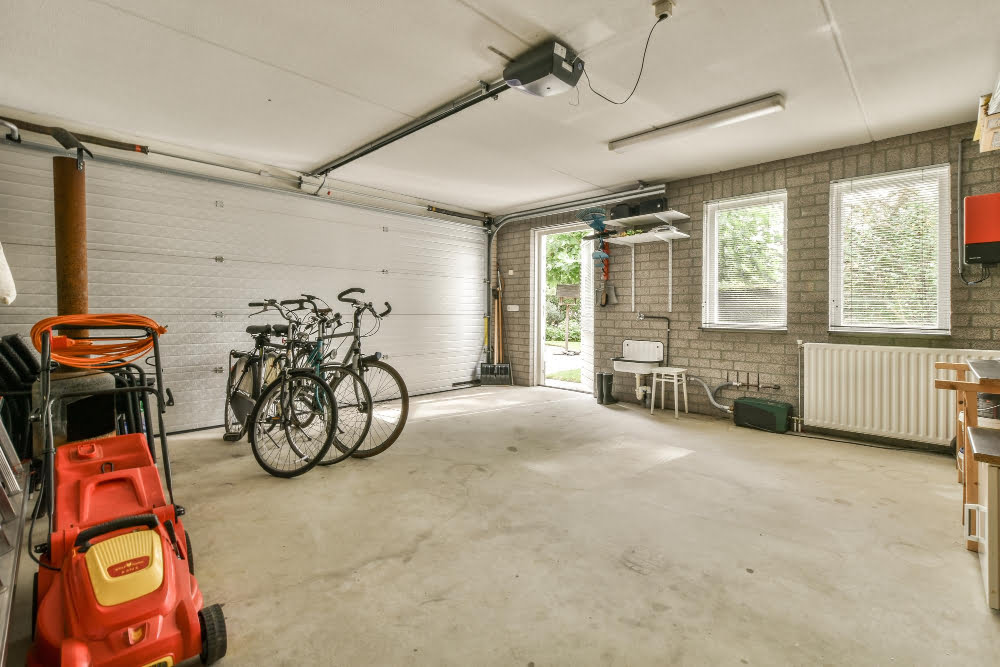
Not only does insulation serve as a useful barrier to frigid winter temperatures, it also helps in reducing summer heat entering your garage. Consequently, this can alleviate the load on your home’s heating and cooling systems, lowering energy costs. Additionally, an insulation layer provides a buffer to reduce external noises, enhancing comfort in the house.
Without insulation, the interior of garages, especially those with rooms above, may be subject to extreme temperature swings that can affect the thermal equilibrium of adjacent living areas. Insulation also makes it easier to maintain a consistent temperature in the garage space itself, which can be beneficial if you use this area for activities beyond car storage, such as a workshop or home gym.
Besides, in case you neglect any gaps or leaks, garages can also be a conduit for unwanted pests gaining access to your house. Insulating the ceiling can effectively seal these potential entry points and prevent infestations. Above all, insulation significantly betters the overall energy efficiency of your house, making it not just an ecological choice but a smart economical move.
Choosing the Right Material for Garage Ceiling Insulation

Consider your specific needs when selecting insulation for your garage ceiling. The key factors you should take into account include R-value, ease of installation, material cost, and sustainability.
The R-value is a measure of thermal resistance. A higher R-value means better insulating properties. If temperatures in your garage fluctuate dramatically, opt for material with a high R-value.
Ease of installation also impacts material selection. For DIY projects, fiberglass batts or loose-fill insulation are often preferred due to their straightforward installation process.
Cost-effectiveness is another variable. While spray foam provides exceptional insulation, it may cost more than traditional fiberglass or cellulose. Review your budget before finalizing your choice.
Lastly, consider the sustainability of the material. Options like sheep’s wool or recycled denim could appeal to environmentally conscious homeowners. It’s important to strike a balance between performance and your personal values when choosing garage insulation.
Understanding Different Types of Garage Insulation: Fiberglass, Cellulose, Rigid Foam Board, Spray Foam, and Mineral Wool
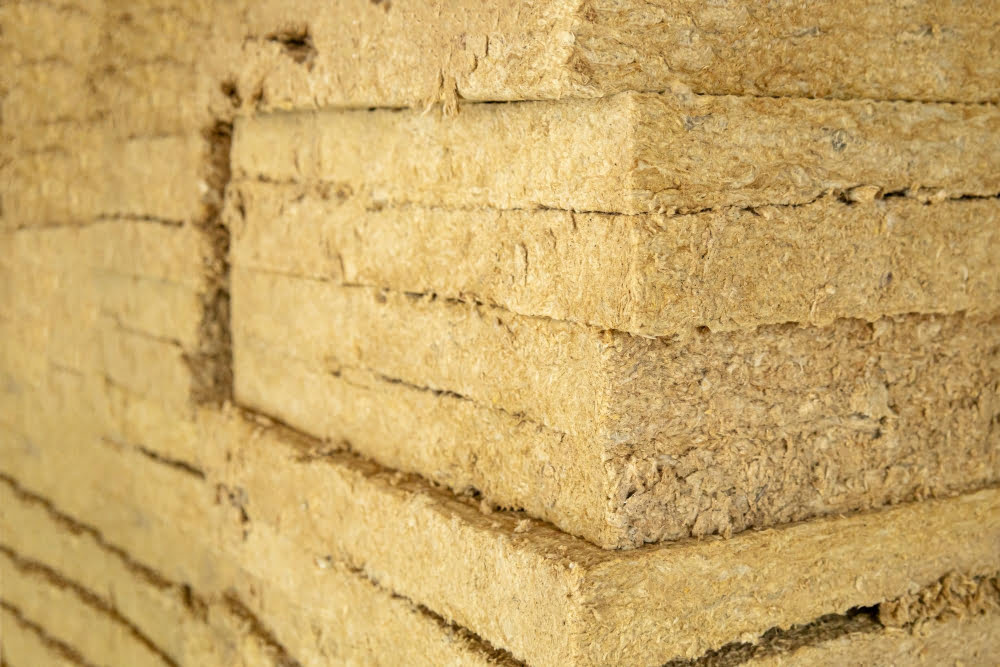
Insulation materials vary, each offering perks and drawbacks. Fiberglass, a common option, retains heat well and is fire resistant, an important factor for a garage. It comes in loose-fill and batts, providing flexibility in application.
Cellulose insulation, made mostly from recycled newsprint, is another popular choice. As a loose-fill product, it’s easy to install and has reasonably high insulating properties. However, it’s less fire resistant than fiberglass.
Rigid Foam Board, on the other hand, offers high insulating value with minimal thickness. Being water-resistant, it’s also ideal for areas prone to dampness.
Spray Foam expands upon application, filling even the smallest cracks. As a result, it’s an effective air barrier, perfect for draughty garages. It’s more expensive but provides a higher R-value (measure of insulation’s effectiveness).
Lastly, Mineral Wool, known for its superior fire and soundproofing qualities, is an excellent choice too. Its only drawback is the itchiness caused by the fibers if they come in direct contact with the skin.
Installing Blown-In Loose Fiberglass in a Finished Garage Ceiling

Begin by setting up the blower unit and inserting the blown-in fiberglass material into the charger. Make sure you begin at the furthest corner from your exit point, usually the attic hatch.
- Clear the area: Any obstructions like old insulation, dust, or debris need to be completely cleared from the area. Only then will the new insulation properly stick and provide maximum effectiveness.
- Protective gear is essential: Wear long-sleeved shirts, gloves, goggles, and a dust mask to avoid irritation from the fiberglass particles.
- Install depth markers: These help ensure you apply an even amount of insulation throughout the garage ceiling. Place them at regular intervals across the space.
- Operate the machine: One person stays below to operate the blower, guiding the hose based on instructions from the person in the attic. Pay close attention to the insulation level, ensuring it reaches the level of the marker.
- Cover every inch: The key is to evenly spread the insulation across the entire surface, focusing even on tiny areas.
- Do not block soffit vents: It is crucial to avoid covering soffit vents as it could lead to moisture problems. Use vent chutes if necessary to maintain vent opening.
Installation of blown-in loose fiberglass in a completed garage ceiling requires strategic planning, adequate safety, and precision. Following these steps will ensure the job gets done successfully.
Techniques for Installing Fiberglass Batting in a Finished Garage Ceiling

Fiberglass batting is a popular insulation choice due to its cost-effectiveness and ease of installation. Here is a reliable installation process:
1. Measuring the Space: Measure the length, breadth, and depth of the space within your ceiling joists. These details are essential for purchasing the correct size of fiberglass batting.
2. Purchasing your Material: When purchasing, select batting that is as deep as your ceiling joists – typically a six-inch depth is ideal.
3. Cutting the Batting: Once you have your material, it can be cut to the dimensions of your ceiling cavity. Standard fiberglass batting often provides gridlines for easy, precise cutting.
4. Placement process: Start from one end of the ceiling and secure the batting between the joists, parallel to them. To avoid gaps that can lower efficiency, make sure it tightly fills each space, with no spaces or compression.
5. Securing the Batting: Use a staple gun to secure the batting, placing staples every 12 inches on the centerline. Do not miss out on spots and ensure the batting is snug, yet not overly compressed.
6. Respecting Vents and Light Fixtures: Avoid covering soffit vents, can lights, or other electrical fixtures with insulation. It could cause a fire hazard. Always keep an open space around electrical fixtures.
7. Adding Additional layers: To enhance the R-value of your insulation, you may add another layer of batting across the joists, perpendicular to them. This method, although not always necessary, effectively seals any possible air leaks.
Remember, when installing fiberglass batting, always wear the appropriate safety gear including gloves, a mask, and safety goggles. Fiberglass can irritate your skin, lungs, and eyes if not handled properly.
Procedure for Applying Spray Foam Insulation to a Finished Garage Ceiling
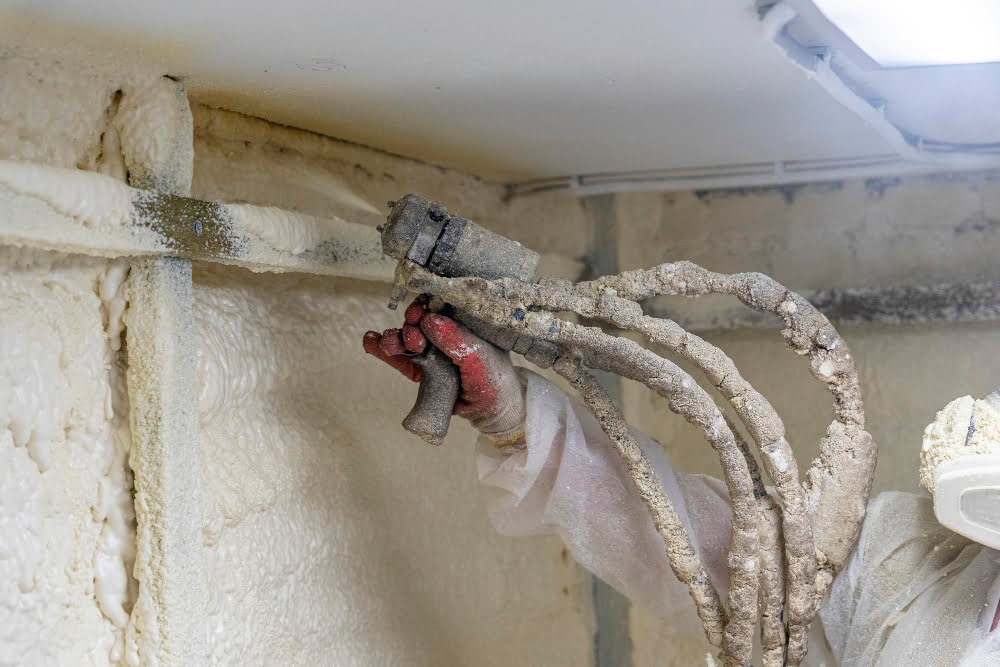
Embarking on the spray foam insulation process requires careful preparation. Start by ensuring the surface is free from grease or dust as the foam does not adhere well to dirty surfaces. If necessary, clean and let it dry completely.
Next, equip yourself with protective gear including gloves, safety glasses, and a respirator – spray foam can release harmful fumes.
Choose the appropriate spray foam. For large gaps, use a foam with a high expansion rate, while a low-expansion foam is suitable for small cracks.
Begin the application, focusing on the cracks and cavities. Aim to apply a steady, even layer of foam, avoiding overfilling since the foam will expand once applied.
Ensure adequate ventilation as you work, and allow the foam to cure for the full duration recommended by the manufacturer. Once cured, the foam can be trimmed, painted, or even plastered over, depending on aesthetic preference and further insulation requirements.
For a successful project, always be ready to read and follow the manufacturer’s instructions closely.
Safety Precautions in Adding Insulation to Your Garage Ceiling

Before embarking on the installation process, it’s crucial to prioritize safety.
1. Protective Clothing: When handling insulation—particularly fiberglass, it’s advisable to wear long-sleeved shirts, gloves, eye protection, and a dust mask. This will prevent the fiberglass fibers from irritating your skin or getting into your lungs.
2. Ventilation: Ensure the garage is well-ventilated during the installation process. This is essential not only during the application of spray foam insulation but for all insulation types.
3. Ladder Safety: Often, you’ll need to work at height while insulating a garage ceiling. Always use sturdy, reliable ladders and adhere to proper safety standards—maintain three points of contact (two feet and one hand, or two hands and one foot) at all times.
4. Electrical Safety: Before starting any insulation process, switch off the power to any electrical circuits that may be in or around the area where you’ll be working. Always steer clear of any electrical wires and boxes during the insulation process.
5. Fall Prevention: If you’re working within the attic of the garage, be mindful of your footing. Stepping off a joist could damage the ceiling below, or worse, result in a potentially dangerous fall.
For a smoother, safer process, you might consider enlisting professional assistance, particularly for spray polyurethane foam insulation, as it requires expert application.
The Pros and Cons of Insulating Your Garage Ceiling

Insulating a garage ceiling has several advantages and disadvantages that homeowners should carefully consider.
On the plus side, insulation can significantly improve energy efficiency in the home. By keeping the cold air out in the winter and the hot air out in the summer, you can lower your heating and cooling costs. Further, an insulated ceiling can offer a sound barrier, reducing noise transmission to the rooms above, especially beneficial if the garage is used for noisy activities.
Adding insulation might also increase home value, as many potential buyers appreciate energy-efficient homes. Another advantage is that it can convert the garage into a more habitable space, whether you use it as a workshop, fitness area, or an extra room.
However, insulating a garage ceiling isn’t without certain drawbacks. The most decisive among them could be the cost. The material itself might not be expensive but the procedure, if you go for professional insulation installation, can add up quite quickly.
Moreover, insulating just the ceiling may not provide the desired effect. It may require insulating the walls and the garage door to make the garage fully energy-efficient. Additionally, the installation process can be time-consuming and often demands competent DIY skills, or a professional.
Lastly, installing insulation in older homes with frail structures may potentially lead to unexpected problems such as damaged sheetrock, further exacerbating the cost. Hence, a proper evaluation of the garage structure is essential before installation.
Cost-Effective Methods to Insulate Garage Ceiling
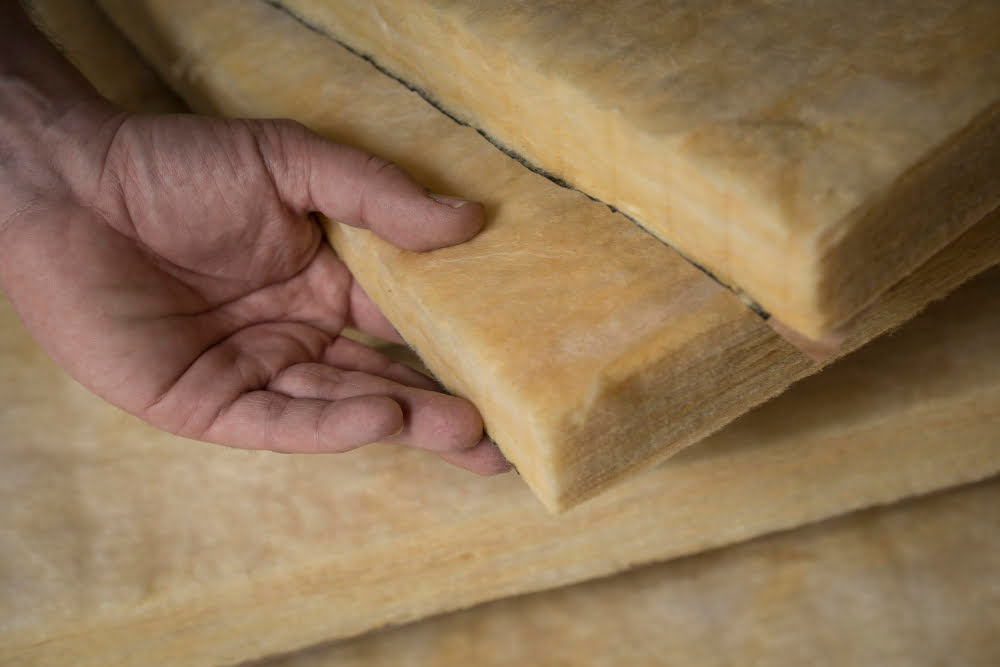
Insulation rolls and batts, typically made from fiberglass, are among the most affordable options. This type of insulation is ideal for ceilings with regular joist spacing, but keep in mind, it requires careful installation to achieve the best thermal performance. A vapor barrier on the heated (inner) side is also crucial to prevent condensation from getting trapped.
Loose-fill cellulose, on the other hand, is excellent for irregular spaces and can be blown into cavities through small holes, making it useful for finished ceilings. Its high-density characteristic makes it perfect for thermal insulation, and it’s eco-friendly too. But remember, it’s slightly costlier than traditional fiberglass.
Do-it-yourself spray foam kits are also an excellent choice for a cost-effective approach, though they’re best for small areas. These kits provide an air and vapor barrier, filling tiny gaps and cracks for a comprehensive insulation solution.
Used rigid foam insulation is an economical alternative that provides high resistance to heat flow. They can be cut to fit between the joists and sealed at the edges with spray foam. Be aware, however, of buying used insulation for it may not meet local fire codes.
Lastly, don’t forget to seal all leaks around the ceiling before installing any insulation to ensure maximum effectiveness. Consider adding weather stripping to doors and sealant to windows while also checking for any cracks or damage around the perimeter of the garage.
Estimated Expense of Insulating the Room Above a Garage

Insulating the room above the garage can significantly impact overall energy efficiency in your home, yet costs may vary based on the insulation material used and the size of the space to be insulated.
Fiberglass, a common insulation material, may cost between $1 to $1.50 per square foot. High-end spray foam insulation, on the other hand, could potentially cost up to $3 per square foot. Both costs consider the material only, not the installation process.
The cost of insulation installation is heavily influenced by labor costs, which can range from $40 to $70 per hour. This means, for a 500 sq-feet room, installing fiberglass might range from $700 to $1050, while choosing spray foam might cost between $1600 to $2000.
Always bear in mind that these are average estimates and actual costs may vary. Be sure to ask for multiple quotations and choose the most cost-effective yet efficient solution for maximum long-term benefits.
Determining If the Space Above the Garage Requires Insulation

When evaluating the need for insulating the space above your garage, there are several factors to consider:
1. Climate: If you live in a region with extreme temperatures, insulation becomes essential. It will regulate temperature and make the space more habitable.
2. Usage: If this area is used as a living space, insulation aids in maintaining a comfortable temperature, thus making it more livable.
3. Energy efficiency: Insulation can decrease heat transfer between the garage and the space above, leading to potentially lower heating and cooling costs.
4. Noise reduction: Insulation also serves as a barrier to noise, offering a quieter environment for those occupying the space.
Remember, each home is unique, so it’s always worth consulting with a professional to assess your specific needs and make an informed decision. Additionally, regional building codes often dictate insulation requirements, which homeowners should adhere to.
FAQ
Should you insulate a garage ceiling?
Yes, insulating a garage ceiling is beneficial as it helps decrease energy expenditures, enhance privacy and sound insulation, improve air quality, and may boost the home’s resale value, but professional consultation is recommended for accurate installation and ventilation.
How to insulate a garage ceiling cheaply?
The most economical method to insulate a garage ceiling involves the utilization of fiberglass roll insulation, a product that is readily accessible, pliable, and fits snugly in small, hard-to-reach cavities in the garage ceiling layout.
Should you insulate the ceiling in an unheated garage?
Insulating the ceiling in an unheated garage is beneficial as it prevents heat radiation into your home in the summer and improves the room’s temperature above the garage in winter, thereby significantly enhancing your living conditions and reducing energy bills.
How do you insulate a room above a garage ceiling?
To insulate a room above a garage ceiling, opt for spray foam insulation as it fills the entire ceiling cavity, effectively blocking any potential paths for cold airflow.
What are the best materials for garage ceiling insulation?
The best materials for garage ceiling insulation include fiberglass, spray foam, and rigid foam board insulation.
How much does it typically cost to insulate a garage ceiling?
The typical cost to insulate a garage ceiling ranges from $500 to $2,200, depending on the insulation type, garage size, and labor charges.
What are the benefits of insulating a detached garage’s ceiling?
Insulating a detached garage’s ceiling enhances energy efficiency, minimizes noise pollution, and provides a consistent temperature balance within the space.