Explore the step-by-step process to effectively replace garage door panels, enhancing both functionality and curb appeal.
Replacing garage door panels is a cost-effective way to maintain the functionality and aesthetic appeal of your garage without investing in a brand new door. This process involves identifying the damaged panel, purchasing a suitable replacement, and safely removing and replacing the panel. This article will guide you through these steps in detail, ensuring you have all the information you need to confidently tackle this DIY project.
Whether you’re dealing with a single damaged panel or multiple, this comprehensive guide will help you restore your garage door to its former glory.
Key takeaways:
- Clear area and unplug opener for safety during replacement
- Gather necessary materials and tools for a smooth repair
- Accurately measure panel size for a perfect fit
- Safely remove tension springs before panel removal
- Securely attach brackets and hinges for proper functionality
Ensure Safety Before Starting the Garage Door Panel Replacement Process

Safety measures are pivotal in carrying out any DIY task; garage door panel replacement is no exception. As the first phase, clearing the area surrounding the door from any obstructions ensures unimpeded work. Unplugging the opener is crucial to avoid any unwanted electrical incidents. It also renders the door idle, making it safe to work on.
Additionally, sturdy ladders and the right protective equipment such as gloves and safety goggles are not to be overlooked. Lastly, remember to enlist the help of another person if possible. Some tasks in the process can prove challenging single-handedly due to the heavy nature of door panels.
Materials and Tools Needed for Garage Door Panels Replacement
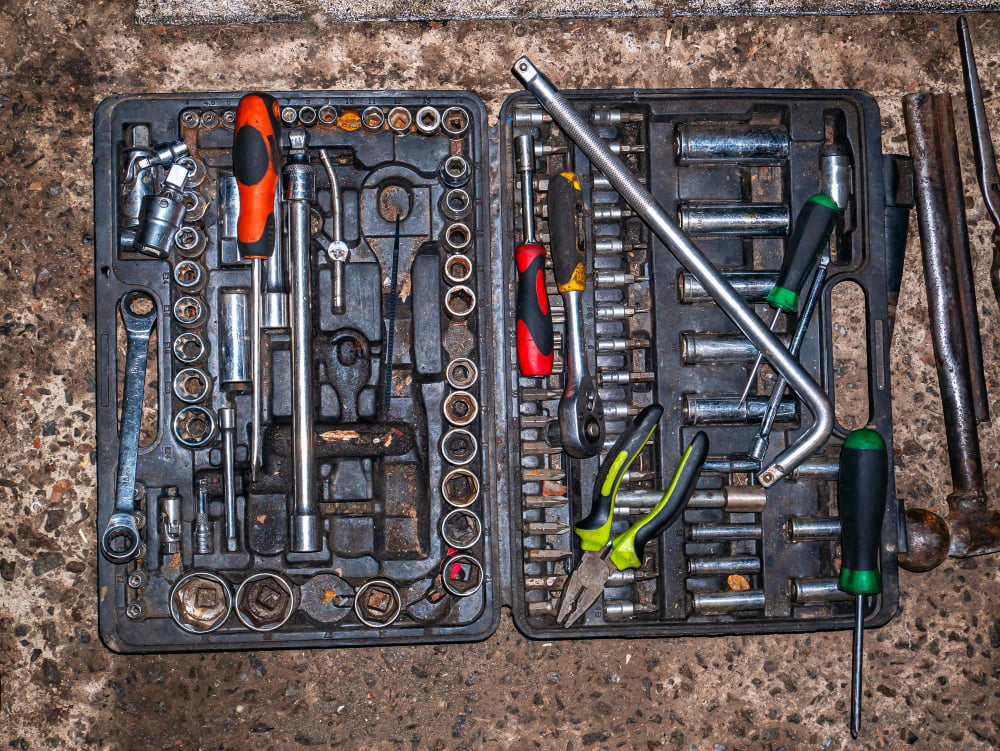
Prior to starting the replacement process, gather the necessary materials and tools to ensure a smooth, efficient repair. You’ll need new panels, of course, that match the size and design of your current door. On the tool side, you will also need a socket set and wrench set for the various nuts and bolts involved in the process.
Utilizing a cordless drill with a set of drill bits will speed up the removal and installation of screws. A pair of vise grips will prove invaluable for holding parts in place during replacement, while a sturdy ladder will provide needed height for the project.
A standard level is required to ensure balanced installation, and avoid future mechanical issues. Safety goggles will protect your eyes from falling debris, and durable work gloves will protect hands from sharp edges and heavy lifting. Lastly, a pry bar and hammer might be necessary for the removal of the old panels.
Remember, having the right tools and materials at your disposal will pave the way for a successful garage door panel replacement.
How to Measure for Accurate Garage Door Panel Size

Firstly, you’ll need a measuring tape to determine the size of the garage door panel. Start by measuring the width of the door panel from left to right – this usually varies from 8 to 9 feet. However, custom garage doors can differ in size.
Next, measure the height. Standard residential garage door panels typically measure 7 to 8 feet in height. For a more precise measurement, take the dimension from the bottom to the top of the panel. Make sure that the tape touches the floor and the top of the panel.
Also, don’t forget to measure panel thickness. Use the edge of the panel for this. Thickness can vary, especially between insulated and non-insulated door panels.
Document the dimensions accurately, noting the width, height, and thickness of the door panel. These measurements are crucial for securing a perfectly fitting replacement panel. But remember, always double-check your measurements for accuracy. A minor error can lead to major fitting issues. Also consider noting down the brand, model, or any identifying features of the original door. This information can be useful when shopping for a new panel.
How to Remove Tension Springs Safely

Before beginning, it’s vital to disconnect the garage door from the electricity source to safeguard against accidental activation. Mistaken engagement can cause serious injury, primarily when dealing with the tension springs.
Don the appropriate safety equipment including sturdy gloves and safety glasses. Now, place a sturdy ladder under the garage door spring.
You’ll need two winding bars to ease the tension. Begin by inserting the winding bar into the bottom hole of the winding cone, which is located on the outside of the spring. Hold the bar in place and remove the screws from the winding cone while keeping a firm grip on the bar.
Considering the high tension, ensure you’re standing to the side of the bars. Gradually, start to unwind the spring. The winding bar should provide resistance – don’t force it. Let it slowly come up.
Once all tension has been released, you may remove the spring from the center rod bracket and then off the garage door. Proceed to the other side of the door and repeat the process if there are two springs.
Remember, be patient in every step to prevent accidents and damage to the door.
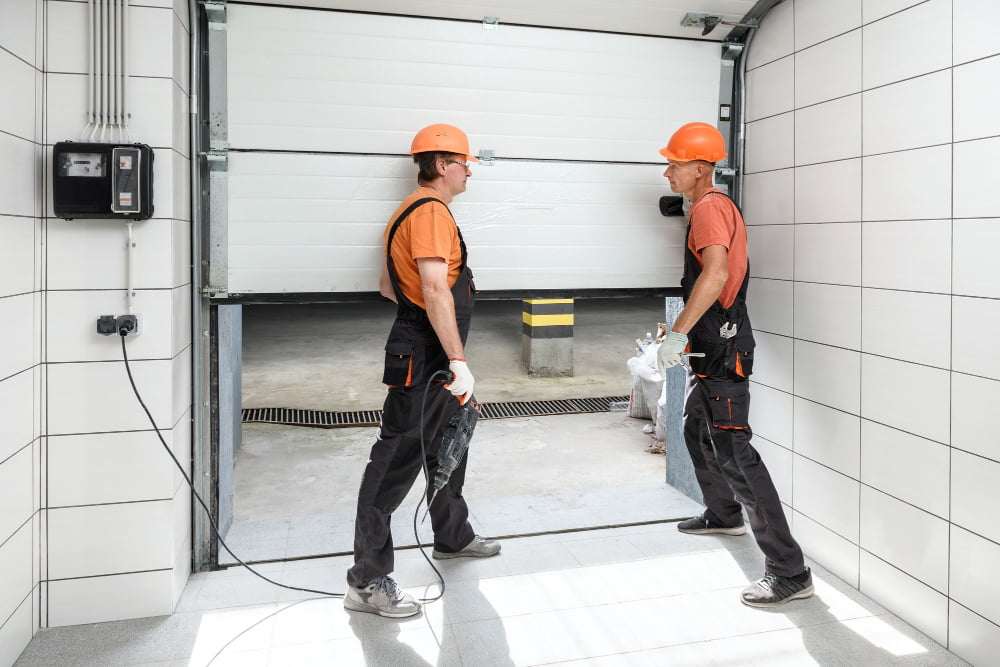
Steps to Remove the Old Garage Door Panels
Begin by securing the panel to be removed. Open the garage door completely, clamp a pair of vice grips under the roller at the bottom on both sides, making sure the grips are tightly secured against the doorframe. Next, locate and disconnect the wires attached to the garage door opener, typically found at the top of your garage. In doing so, be cautious to avoid any electrical hazards.
Now, it’s time to unscrew the bolts holding the door panels together. Use a wrench or ratchet to carefully dissemble the door panel from the rest of the structure. Keep all removed parts organized for reassembly convenience.
Carefully lift the panel in question out of its place. Remember, garage door panels can be heavy and awkward to handle, so it’s advised to have another person helping. Once removed, set the panel aside in a safe place to prevent any unnecessary damage.
Finally, inspect the tracks and rollers for any damages. While the panel is down, it’s an excellent opportunity to spot-check the overall health of your garage door. This routine maximizes the longevity of your garage door, making it a worthy preventive measure.
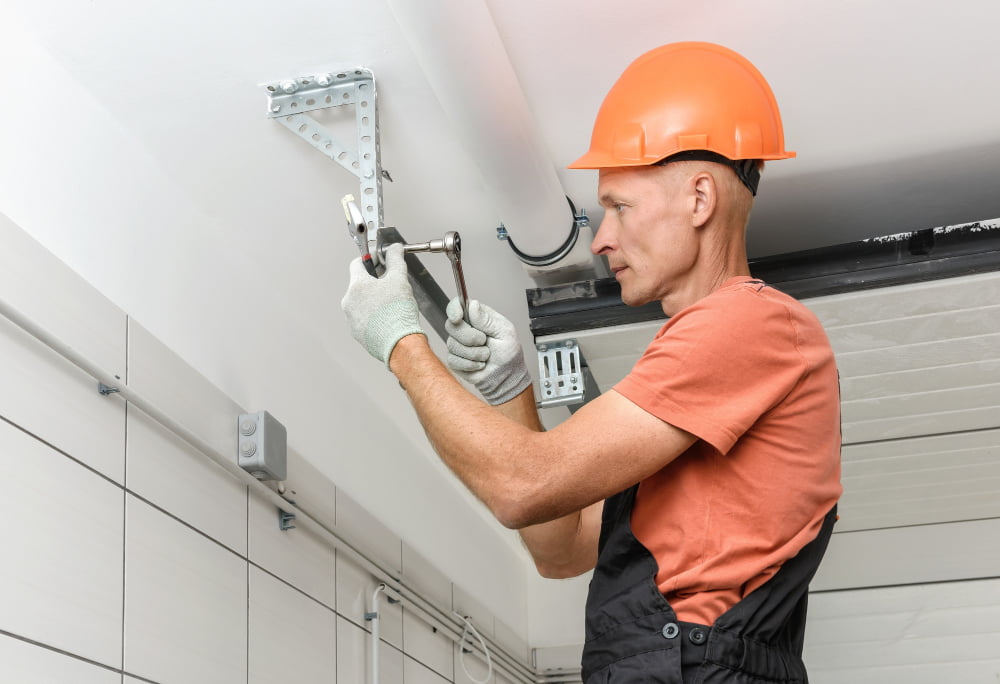
Installing End Bearings in Garage Door Replacement Process
End bearings serve as the support mechanism for the torsion shaft, ensuring smooth operation with minimal friction. Following the detachment of the springs, the installation process kicks off.
The first step involves the proper positioning of the new end bearing plate. This plate should be secured against the garage wall, aligning it with the holes pre-drilled for the lag screws. Remember, precise alignment is crucial.
Next comes the insertion of the torsion shaft into the plate’s bearing while ensuring even distribution of the shaft to prevent any imbalance.
Lastly, secure the shaft and plate by tightening bolts onto the bearing plate but also remember not to overtighten as that might distort its shape.
Mind that the process is the same for both ends of the shaft. Wearing safety gloves and eye protection gear is recommended during the entire process.
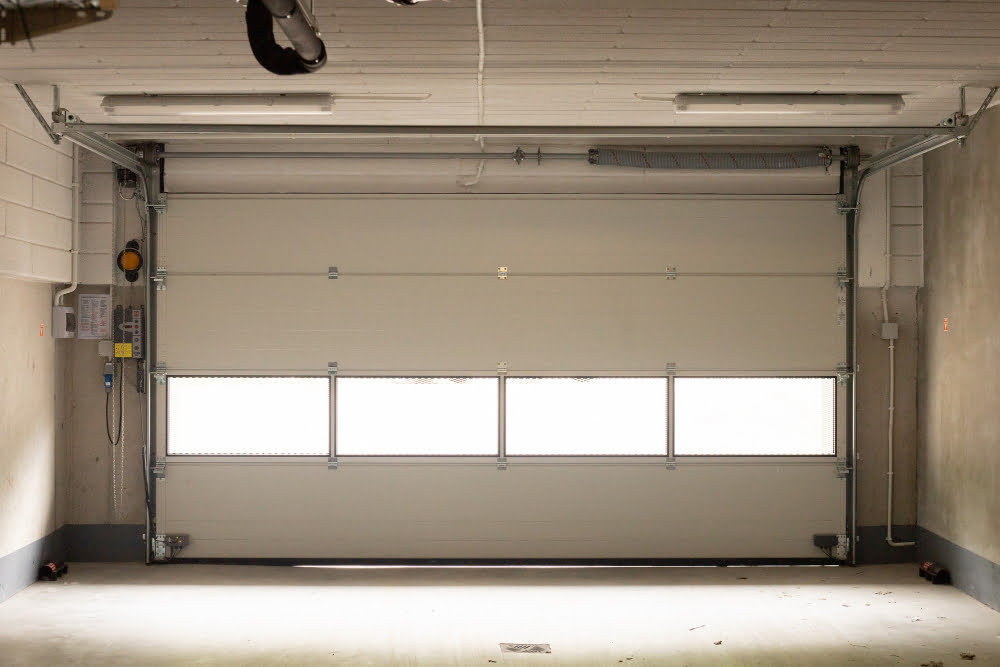
How to Level the Garage Door Correctly
Ensuring your garage door is level is vital for optimal functionality and to prevent undue wear and tear. Here’s how to do it:
1. Lower the door: With the garage door in the down position, check the alignment with the ground. Gaps between the bottom of the door and the floor indicate unevenness.
2. Check with the level: Use a quality level (a tool to check if surfaces are horizontal or vertical) along the panels and tracks. This assesses the door’s balance and alignment—it should show as perfectly horizontal.
3. Adjust the brackets: If your level indicates any skewness, adjustments are mandatory. You can typically do this by loosening or tightening the door or the track supporting brackets.
4. Recheck with the level: Apply the level again. If adjustments were successful, your level tool should now show a perfect horizontal alignment.
5. Check door operation: Operate the door manually or with the opener to ensure it opens and closes smoothly. Adjustments may be needed if there’s any lag.
Remember, never force the door to shift or level. If adjustments are proving to be unsuccessful, it’s best to consult with a professional to avoid any potential damage.
Installation of Weather Stripping
Having properly set up the panels and brackets, it’s time to move onto the weather stripping process. This essential step helps maintain an optimal garage environment by keeping out wind, rain, and pests while improving the garage’s insulation.
1. First, get a garage door bottom seal kit from any renowned hardware store. Make sure it matches the garage door’s width.
2. With the door fully open, slide the old seal out of the bottom track (if applicable).
3. After cleaning the track, slide the new weather strip carefully into place. Ensure it extends evenly across the entire width of the door.
4. To improve the seal’s lifespan, consider adding a weather seal lubricant. It prevents sticking and slows down wear and tear.
5. Lastly, close the garage door to test the seal. Adjust as necessary for a snug fit against the garage floor.
Remember, weather stripping installation is a crucial step that pays dividends in energy savings and discomfort prevention over time.
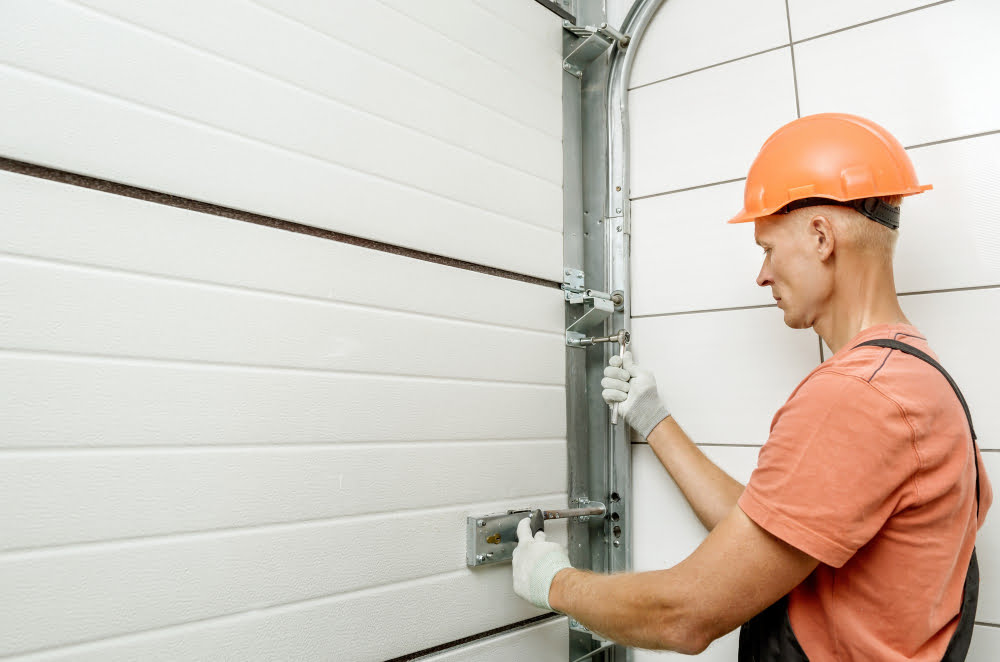
How to Attach Brackets Properly in Replacement Process
The correct attachment of brackets will ensure the garage door panels are safely secured and will correctly function. With your drill and screws ready, adhere to the following steps:
1. Hold the bracket up to the location on the panel that it will be attached – typically these locations are already pre-drilled on the panel, making your task significantly easier.
2. Use screws to attach the bracket to the door panel, ensuring not to overtighten as this could strip the holes or damage the bracket.
3. Repeat the process for all locations on the door panel where the brackets are being attached.
4. Double-check all screws are tight but not stripped. Ensure each bracket is straight and aligned properly.
Taking the time to perform these steps accurately will ensure an efficient and durable installation.
Remember, if at any point things seem too complex or risky, don’t hesitate to hire a professional to get the job done safely.
Installing Rollers and Tracks in New Garage Door
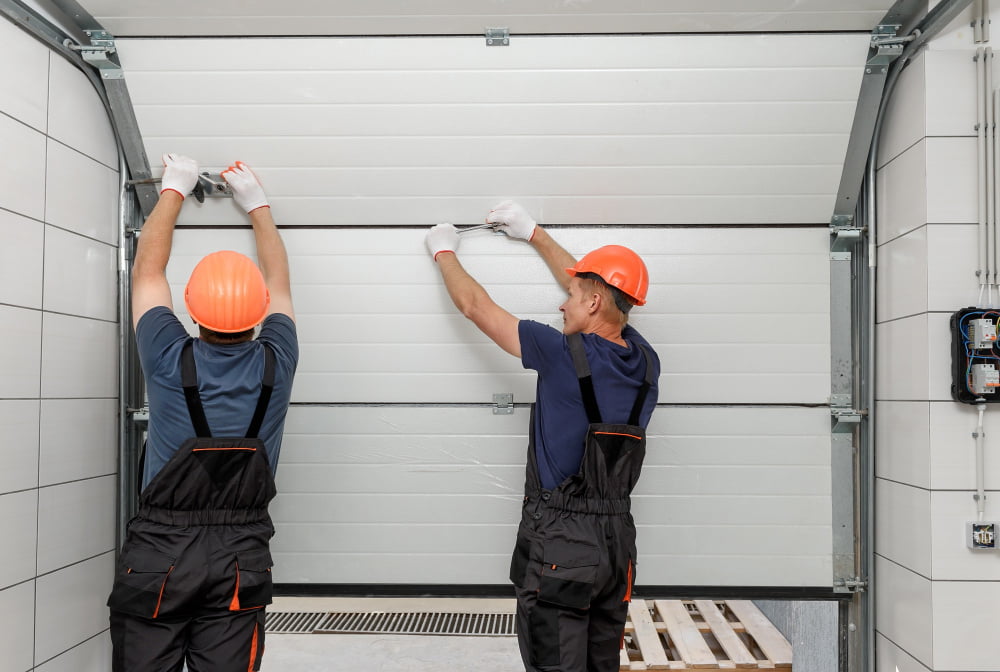
Begin with the track, setting it in place and securing it. Always check the alignment with a level to avoid future issues.
Follow by positioning rollers inside the track, ensuring a smooth glide. Remember, it’s crucial to put the rollers inside the track before attaching the panel to avoid disrupting the setup.
Use a ratchet to fully secure the brackets to the wall framing. Repeat these steps for other panels, ensuring all tracks are straight and parallel to each other.
Always use the manufacturer’s guide to specifically match your model during this process.
Lastly, connect the vertical and horizontal tracks. Remember, incorrectly installed tracks could lead to significant damage or injury. Therefore, if in doubt, hiring a professional could save time and money in the long run.
How to Change the Garage Door Panels
Begin by gently lowering the old door panel. The grip handles should come in handy for this. Do not force the panel if it seems stuck, as this may cause more damage. Instead, check for screws or nails that might still be in place holding it.
Next up, slide your new panel into the open slot. Alignment is crucial at this point. The panel should align with the existing door tracks on both sides. Don’t worry if it feels a bit tight; it’s designed to fit snugly. Be sure not to use excessive force as it can cause the panel to warp or even break.
Once in place, secure the panel with screws or nails through the pre-drilled holes. Follow the pattern observed in the previous setup to ensure consistency. Use a level to ensure the panel is even. This helps to alleviate future issues with the opening and closing of the door.
Lastly, reattach the hinges and wheels. Now repeat these steps for each panel that needs replacing. Moving one panel at a time ensures the door maintains its structural integrity throughout the process.
Setting Up Hinges and Tightening for Optimum Garage Door Functionality
Having carefully installed your door panels and properly attached your brackets, the next logical step involves setting up the hinges.
Begin by aligning the pre-drilled holes on your panel with the ones on your door. Once these are matched, insert your hinge pins. Makes sure the hinge is snug against the door and panel, ensuring there is no unnecessary gap.
Proceed to tighten these hinges using a wrench or a socket driver. Firmly secure each hinge to the door and panel. As you proceed, it’s essential to check the door’s balance and alignment. You can do this by operating the door manually. If it runs smoothly, you’ve done a good job. If not, there might be a need for some adjustments.
Remember, sufficient tightening ensures your garage door operates optimally. It’s important not to over-tighten to avoid creating undue tension that may lead to distortion of the door or panels. The trick lies in achieving the balance; firmly secure but not overly tight.
Lastly, ensure all bolts and nuts are securely in place. Cross-check and tighten any loose ones before moving to the next step of the process. This attention to detail guarantees long-lasting functionality of your garage door.
Installation of Garage Door Cables and Springs
Equipping your new garage door panel with cables and springs calls for caution due to the tension and pressure they bear. Here’s a stepwise guide to a safe and effective installation.
1. Position the Torsion Spring: Connect the central bracket with the stationary cone situated on the torsion spring. Safely secure the bracket to the spring to reduce tension.
2. Install the Cables: Attach one end of the lift cable to the bottom-most panel’s brackets, or rather, the anchor pad.
3. Set the Cable Drums: Put the cable drums in place at both ends of your garage door and push them up to the race of the bearings.
4. Wind the Springs: Leading the lift cable upwards, line it up within the slots located on the cable drum. Ensure it’s wrapped around appropriately. Next, securely tighten the drum onto the shaft while keeping the cable taut.
5. Secure the Torsion Spring: Hold the tension on the spring by firmly tightening the set screws. Confirm this by marking the spring, unwinding it slightly, then re-winding and checking if the mark remains motionless.
Remember, safety is crucial to consider when handling torsion springs due to the high tension. If you’re uncertain or uncomfortable with the process, it might be best to hire a professional.
Installing the Operator for Garage Door Panels
Once the cables and springs are accurately installed, it’s time to take the important step of operator installation. The operator, which is a motorized device, automates the opening and closing of the garage door panel. Install it on the header bracket following the manufacturer’s instructions.
Connect the operator to the door. This is achieved through a straight door arm and a curved door arm. Fasten the straight arm to the operator trolley, while the curved one goes to the garage door panel. Remember to align the door arms so they’re situated in the middle of the door to prevent any warping under stress.
Check the operator’s reversing mechanism to ensure safety. If anything unexpected occurs during operation, such as the dropping of an object or intrusion during automatic closing, this feature should reverse the door’s motion promptly.
Finally, affix the sensors on both sides of the door to inhibit the door from closing when there’s an obstruction in the pathway. Their placement should be no higher than 6 inches above the ground to detect small obstructions, such as a child or pet.
Ensure that the operator is functioning smoothly. The garage door should open and close effortlessly on command, with no stuttering or stuttering that could signify complications. Keep in mind that proper installation of the operator is crucial, as an incorrectly installed one could cause damage to your garage door panels or lead to potential safety risks.
Painting the New Garage Door Panel

To finish off your project with a professional touch, consider applying a fresh coat of paint to your new garage door panel. This not only enhances its appearance, but also adds an extra protective layer against harsh weather conditions.
1. Preparation: Clean the panel thoroughly to remove dust or dirt. Use mild detergent if necessary.
2. Primer: Apply a primer, which is especially important if you have a steel garage door. This aids in adherence of the paint and increases durability.
3. Paint: Select a paint type compatible with your garage door material. Opt for a color that harmonizes with your house exterior. Use a wide brush or a roller for even application.
4. Drying: Allow ample time for the paint to dry before you operate the door. A good rule of thumb is 24 hours.
Remember, for panel replacements, painting is not just about aesthetics; a properly coated garage door panel can resist the elements and last for years.
FAQ
Can you just replace the panels on a garage door?
Yes, individual panels on a garage door can indeed be replaced without the need to purchase an entire new door.
Are garage door panels sold separately?
Yes, individual garage door panels are typically available for purchase separately, allowing for replacement without the need to buy new garage doors entirely.
Are garage door panels universal?
Garage door panels are not universal, with their suitability depending on the age and specific type of the garage you have.
Can I replace my garage door myself?
Yes, you can replace your garage door yourself, ensuring you follow the appropriate safety precautions and security measures during and after the installation.
How can I correctly measure my garage door for panel replacement?
To correctly measure your garage door for panel replacement, you need to measure the width and height of the old panel and count the number of panels to ensure proper replacement.
What are the necessary tools and materials required for a garage door panel replacement?
The necessary tools and materials required for a garage door panel replacement include a drill, hammer, replacement panels, tape measure, ladder, pliers, and safety equipment such as gloves and safety goggles.
What safety precautions should be taken while replacing garage door panels?
During garage door panel replacement, safety precautions should include disconnecting the automatic opener, securing the door in place, wielding appropriate protective gear, and ensuring the correct fit and installation to avoid future risks.