Explore practical strategies to soundproof your garage and create a tranquil, noise-free environment.
Soundproofing your garage can be a cost-effective and efficient way to create a quiet space for a home office, music studio, or workshop. This article will guide you through the process, providing detailed instructions on selecting the right materials, installing insulation, and sealing doors and windows.
Whether you’re a DIY enthusiast or a novice, these step-by-step instructions will make the task achievable. Moreover, you’ll find tips on how to maintain the soundproof quality over time and recommendations for professional assistance if needed.
So, get ready to transform your garage into a peaceful retreat from the noise of the outside world.
Key takeaways:
- Airborne noise: Music, conversation, traffic noise from outside.
- Impact noise: Stepping, dropping tools, closing doors.
- Site preparation is critical before soundproofing.
- Tools needed: Measuring Tape, Foam Insulation, Acoustic Caulk, Mass Loaded Vinyl, Green Glue, Utility Knife, Adhesive, Soundproofing Door Seals, Drywall.
- Insulation installation: Measure, select insulation, fit between studs, cover gaps.
- Caulk the stud structure and seal gaps with acoustic caulk.
- Install AudioSeal® Mass Loaded Vinyl Soundproofing Barrier.
- Seal seams and gaps with acoustical caulk.
- Soundproof the garage door: Insulation kits, weatherstripping, higher R-Value, soundproof blanket or curtain.
- Soundproof garage walls: Batt insulation, drywall, acoustical caulk, Mass Loaded Vinyl.
- Soundproof garage ceiling: Acoustic foam panels or Mass Loaded Vinyl, seal seams with acoustic caulk.
- Soundproof garage floors: Barrier mats, rubber flooring, carpeting, floating floor, acoustic floor underlays.
- Construct a room within a room for additional soundproofing.
- Soundproofing on a budget: Repurpose materials, DIY draft excluders, seal gaps with acoustical caulk, second-hand materials.
- FAQs: Complete soundproofing, soundproofing unfinished garage, soundproofing garage floor, best materials for soundproofing, soundproofing garage door, reducing echo.
Types of Noise in a Garage: Airborne and Impact Noises
Airborne noises are ones transmitted through the air, while impact noises result from objects hitting another.
1. Airborne Noise: These sounds emanate from sources like music, conversation, or traffic noise from outside. They are typically the easier of the two to manage because they move in one direction and have less power behind them.
2. Impact Noise: Also known as structural noise, it refers to sounds as a result of direct contact of objects. Examples include stepping, dropping tools, or closing doors.
Recognizing these two types of noise is fundamental since the steps to mitigate their effects may vary. Understanding the differences assists in providing a more focused approach towards making a quieter garage.
Understanding the Importance of Site Preparation for Garage Soundproofing

Site preparation is critical before undertaking any soundproofing project. A well-prepared site contributes significantly to the effectiveness of the soundproofing measures applied.
Inspect the garage for any pre-existing damage such as cracks or holes. These need to be repaired; thay can compromise soundproofing efforts by allowing sound transmission.
Note the sources of noise – both from inside and outside of the garage. It’s crucial to understand that different sources require different soundproofing techniques.
Identifying the materials the garage is built from helps select the suitable soundproofing materials. Materials like brick, concrete, and wood each have distinct soundproofing needs.
Lastly, consider the size of the garage itself. Garages vary vastly in design and size, so understanding the scope of your project is crucial in developing an effective soundproofing plan. It’s not just about the amount of materials needed; the size of a space can greatly affect how sound behaves within it.
Remember, an eye for detail during site preparation can save you both time and money in the long run, while ensuring your soundproofing project’s success.
Typical Tools Needed for Soundproofing a Garage

Accumulating the right tools is vital to any soundproofing project. For optimal results, you’ll need the following:
- Measuring Tape: Necessary for gaining exact measurements of doors, walls, and floors to avoid errors.
- Foam Insulation Sheets: Offered in various thicknesses, these sheets minimize the passage of sound waves through walls, doors, and windows.
- Acoustic Caulk: Specifically made to seal gaps where noise leaks. Unlike the regular caulk, it stays flexible and doesn’t crack over time.
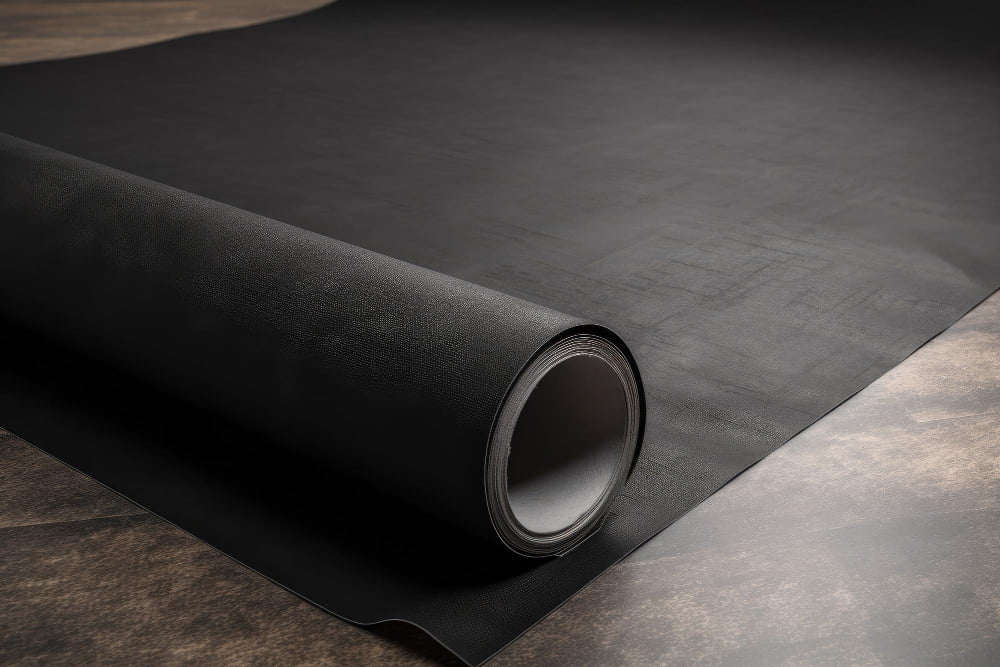
- Mass Loaded Vinyl (MLV): A noise barrier material that blocks airborne sounds by adding mass to your structures.
- Green Glue: A soundproofing compound applied between two layers of materials to dampen noises.
- Utility Knife: Handy for cutting foam insulation sheets and MLV to desired sizes.
- Adhesive: Used to attach the MLV to the walls, ceiling, or floor.
- Soundproofing Door Seals: Reduce noise leakage around the edges of your garage doors.
- Drywall: A finishing material with excellent soundproofing properties when used over insulation.
With these tools and materials, you are well equipped to transform your loud garage into a quiet oasis. Remember, quality is key, poor quality materials can unfortunately reduce the effectiveness of your soundproofing project.
How to Install Insulation for Garage Soundproofing

Firstly, you’ll need to measure the area of your garage wall to determine the square footage. Always calculate a little more than necessary to avoid running short.
Secondly, when selecting the right insulation, aim for one that offers both heat insulation and noise cancelling properties. Materials such as mineral wool, foam boards, or fiberglass insulation are ideal.
To start installing, you’ll fit the insulation between the studs on your garage walls. This essentially forms a barrier that helps absorb sound waves.
Remember to cover all spaces extensively, even the tiny gaps. Sound waves can travel through surprisingly small openings.
Once the insulation is in place, fasten it securely. You can do this using adhesive, screws, or even stapling, depending on the material used.
Insulating your garage correctly can significantly reduce noise pollution, offering a more serene atmosphere. It’s a critical step in your soundproofing journey that offers notable results.
Caulking the Stud Structure in a Garage
Proper caulking is indeed an integral part of any soundproofing project. First, it’s important to remember that the right kind of caulk makes all the difference – acoustical or soundproofing caulk is your best bet. This caulking is designed specifically to block out noises and is effective in preventing sound leaks.
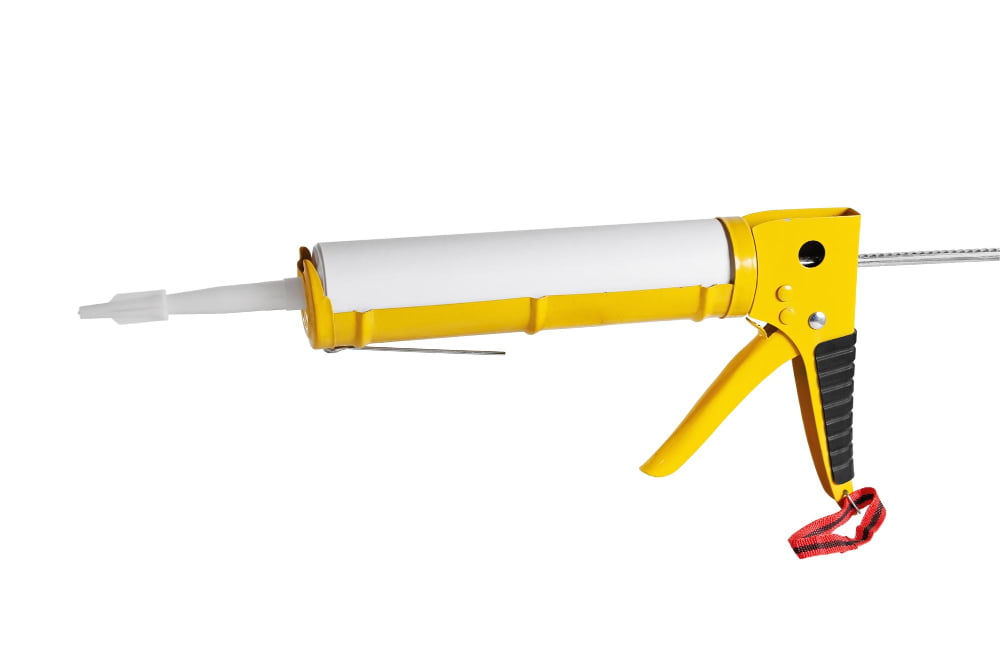
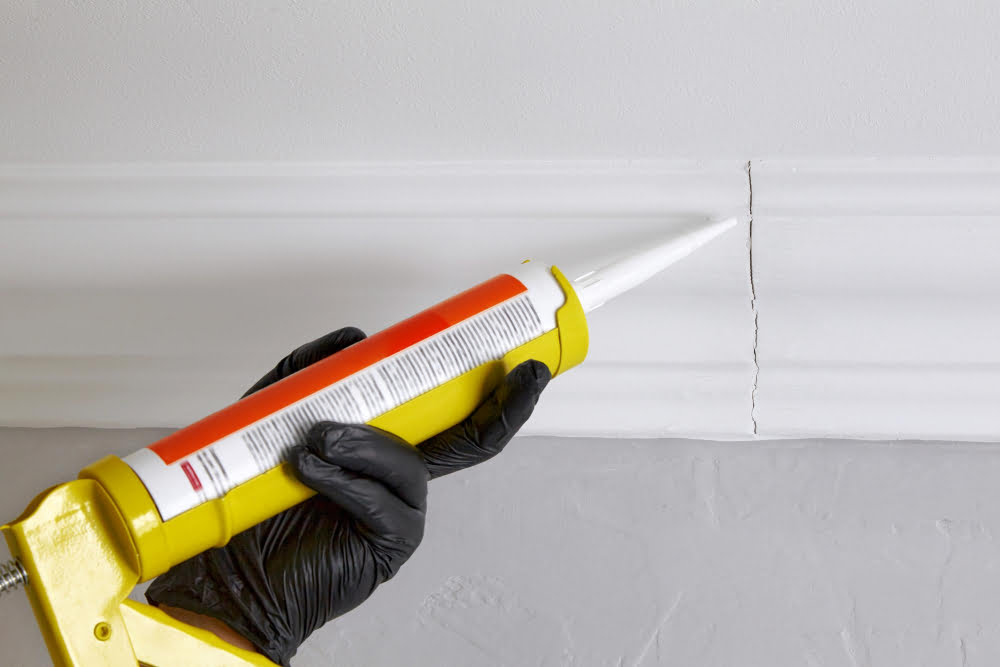
To apply the acoustical caulk, start by cutting the tube’s end at a 45-degree angle. Attach the tube to a caulk gun, and proceed to apply the caulk around all intersections between the studs, and other structures within the garage such as windows, doors, and outlets.
The goal here is to secure the gaps and prevent sound waves from traveling through them. Be liberal in applying the caulk to cover all areas where walls and studs meet as these areas are typically prone to sound leaks. Once the caulk is applied, use a putty knife or your finger to smooth the bead to ensure a proper seal.
Remember, while caulking the stud structure is a pivotal step in the soundproofing process, isolate, absorb, dampen, and block techniques together make for the most efficient soundproofed garage. So don’t let the caulking process deter you, consider it to be part of an overall bigger cause. Also, bear in mind that patience and precision during this task will prove fruitful.
Installation of the AudioSeal® Mass Loaded Vinyl Soundproofing Barrier
With the necessary tools at hand, it’s time to proceed with the AudioSeal® Barrier installation, a specifically designed product proven successful in soundproofing garages. Follow these practical steps to ensure proper fitting and maximum sound reduction:
1. Determine the area coverage: By calculating the total square footage of your walls, ceiling, and door, if necessary, you can determine how much barrier material you’ll need.
2. Prepare for installation: Clean your surfaces of dust and debris before applying the barrier. It is also important to trim the material accurately, aligning the edges perfectly with your wall, floor, or ceiling boundaries.
3. Adhere the barrier: Apply a special adhesive on the prepared surface and carefully fix the AudioSeal® Barrier onto it, ensuring no bubbles or creases are formed. It’s best to start from the top and gradually unroll the material down the wall or across your ceiling.
4. Secure the barrier: For added stability, using screws or nails at regular intervals is recommended. This will ensure the material stays firmly attached over time.
5. Repeat for each surface: The process should be repeated for all surfaces you aim to soundproof.
6. Seal the seams: An essential part of the process is sealing the seams between the barrier sheets with acoustical caulk to prevent sound from seeping through gaps.
Remember, patience is key when installing the AudioSeal® Barrier. Taking your time to ensure proper application will pay off in a noticeable reduction of sound transmission.
Sealing Any Seams and Gaps With Acoustical Caulk in a Garage
Having installed the insulation and the Mass Loaded Vinyl, the next task demands attention to detail. It involves the use of acoustical caulk, a specialized type of sealant designed to prevent noise leakage.
1. Identify Gaps and Seams: Start by examining the garage structure thoroughly. Pay special attention to where different materials meet, around the framework, and around any outlets or fixtures.
2. Applying the Caulk: With the gaps and seams identified, start applying the acoustical caulk. Unlike regular caulk, this specialized sealant remains flexible even when dry, allowing it to effectively absorb sound vibrations.
3. Reapply as Necessary: Over time, the caulk may shrink or crack – keep an eye out for any visible deterioration. Periodical application will ensure long-lasting soundproofing effectiveness.
Remember, sealing all possible openings is vital. It acts as the finishing touch to your soundproofing project, securing all the layers of insulation and ensuring the garage remains a noise-free zone.
Different Ways to Soundproof a Garage Door
Primarily, your focus should be on using insulation kits, as they can make a significant difference in the noise levels entering and exiting through your garage door. These kits have pre-cut insulation panels that fit into the sections of the garage door, reducing both heat transfer and noise.
Secondly, consider adding weatherstripping on the sides and bottom of the garage door. Weatherstripping not only keeps out drafts and pests, but it also has the added advantage of absorbing some of the vibrations that transmit sound.
For more extensive soundproofing, upgrade to a door with a higher insulation rating. Known as the ‘R-Value‘, this indicates the door’s ability to insulate against heat, but also applies to noise. The higher the R-Value, the better the door will be at reducing noise.
Lastly, installation of a soundproof blanket or curtain over the door can effectively reduce noise. These contain layers of sound-absorbing materials, which prevent noise from both entering and leaving the garage. Affixing them directly to the door is straightforward and requires minimally invasive installation methods.
Step-by-step Guide to Soundproof Garage Walls
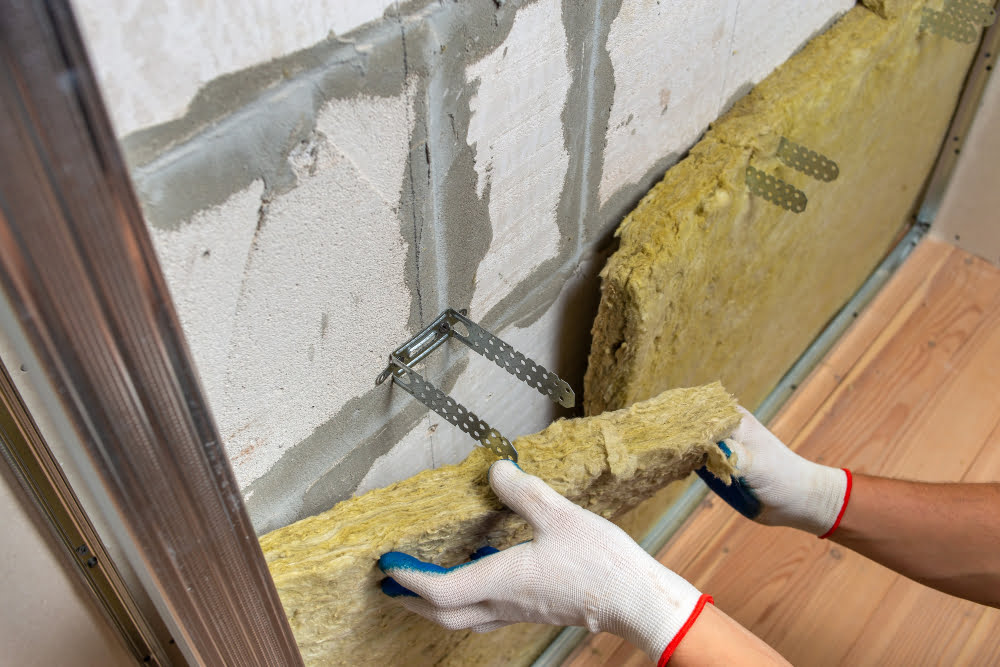
Starting with interior walls, install batt insulation between the wall studs. These spaces can be filled with fibreglass or rockwool insulation. Remember to wear gloves and safety glasses during this process for protection.
Next, add a layer of drywall. It’s recommended to use 5/8″ or even thicker for best results. You may also want to consider using soundproof drywall which is specifically designed to absorb and reduce sound.
Ensure to securely fasten the drywall to the wall studs using long drywall screws. Leave no gaps between the sheets.
After installing the drywall, apply acoustical caulk on all edges and seams. This product is specifically designed to maintain its seal over time and not harden or crack. It also helps to block any sound leaks.
For an even higher degree of soundproofing, add a layer of Mass Loaded Vinyl (MLV) over the drywall. This material is highly effective at blocking noise.
Finally, add a second layer of drywall over the MLV. Again, seal all edges and seams with acoustical caulk to ensure a secure soundproofing system.
Remember, the objective here is to add mass and density to your walls as sound has a harder time traveling through dense materials.
How to Soundproof a Garage Ceiling
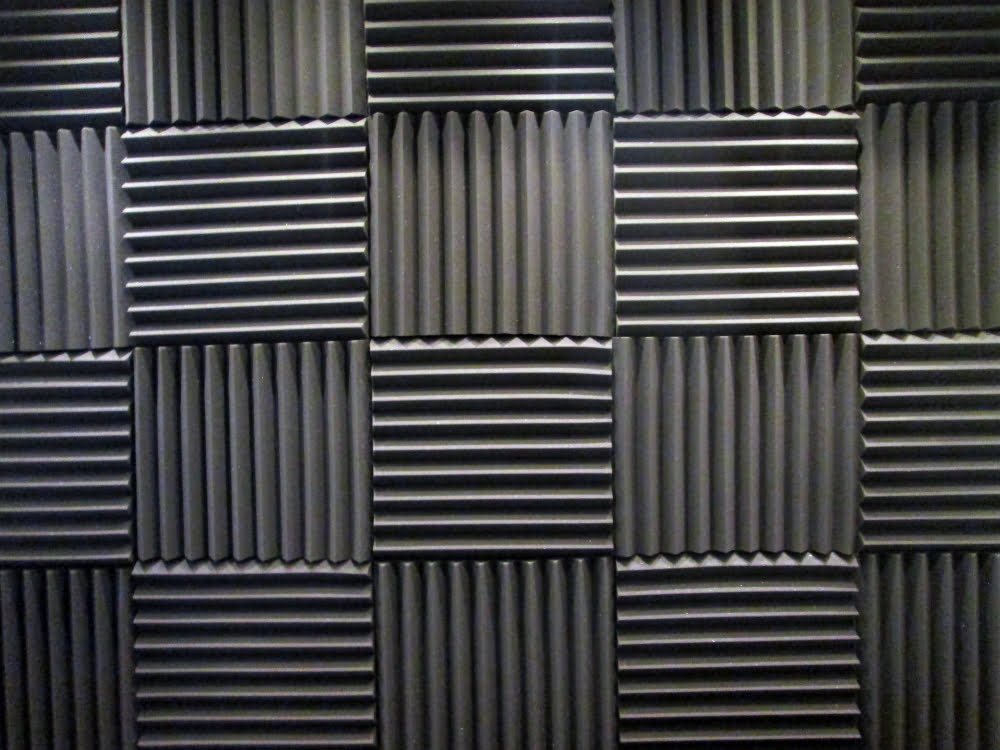
When it comes to ceilings, there are two efficient methods for soundproofing – installing acoustic foam panels or using a mass loaded vinyl (MLV) barrier.
Acoustic foam panels, often used in music studios, effectively absorb sound waves, reducing echoes and background noise. To install, simply cut the panels to fit your ceiling and adhere them with a strong adhesive.
Alternatively, the MLV barrier method involves sandwiching a layer of MLV between two layers of drywall. This dense, flexible material helps the ceiling absorb a wider range of sound frequencies, limiting the transmission of noise. When applying MLV, ensure to overlap at seams for maximum effect, securely fixing with nails or screws.
For tighter budgets, a resonated noise barrier is a great alternative. It’s efficient in reducing low frequency noise and is simply stapled across the ceiling and covered with a layer of standard drywall.
Remember, any gaps or seams should be carefully sealed with acoustic sealant for optimal soundproofing. Consistent efforts on each step will go a long way in ensuring you enjoy your silence within the garage.
Soundproofing Garage Floors: A Comprehensive Guide
Many would hurriedly assume that soundproofing the garage floor is an unnecessary luxury, not realizing that it is a critical component in the overall soundproofing process. To effectively ward off unwanted noise, it’s essential to implement strategies that account for the floor as it can become an unsuspected channel for noise transfer.
Implementing barrier mats is a simple yet effective method. These mats are made of dense and thick materials designed to absorb sound. It’s most efficient to layer them across your garage floor.
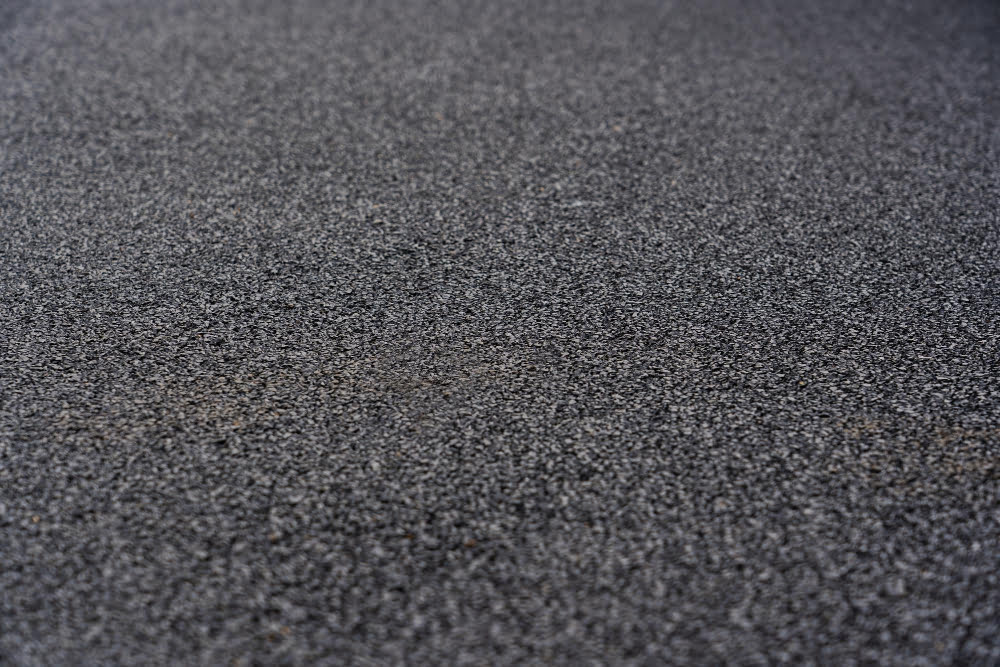
Rubber flooring or mass-loaded vinyl (MLV) varieties work well for this purpose too. Particularly, rubber floors are easy to install and clean, offering the practicality of a garage floor with the added benefits of noise reduction.
Carpeting or carpet tiles can also be an option, especially for garages converted into living spaces. Choose thick pile carpets for maximum sound absorption.
If you’re planning a complete garage makeover, consider a floating floor. It’s a layer of flooring laid over the existing floor, creating an air gap which helps to block sound from traveling.
You may also want to explore acoustic floor underlays, typically used in conjunction with carpeting or floating floors for improved soundproofing.
Remember, the choice of soundproof flooring hinges on your garage’s purpose. A woodworking shop may require a different approach than a music studio or living space. Wise selection and systematic installation can lead to an acoustically pleasant garage experience.
Constructing a Room Inside a Room As an Alternative Method for Garage Soundproofing

To maximize soundproofing, a unique method involving construction of a secondary room within your garage can be implemented. This provides an additional layer of insulation and a more comprehensive sound barrier, effectively creating a ‘room within a room’.
Here’s how to go about it:
1. Frame Out the Room:
Begin by erecting the walls of your smaller room inside the garage. Using acoustic partition stud walls will add an extra layer of soundproofing.
2. Fit Soundproof Insulation:
The new stud cavities crafted should then be filled with fibreglass insulation for better noise reduction.
3. Install Resilient Channels:
Fasten these onto the framing studs. They work by reducing the vibration transferred from the outer to the inner walls.
4. Hang Additional Layers of Drywall:
An added layer of 5/8-inch drywall should be installed onto the resilient channels.
5. Use Acoustic Caulk:
Use this specially designed caulk to seal the seams of the new drywall layer as well as any evident gaps. This stops sound from penetrating through the smallest of gaps.
This methodology targets both airborne and impact noises due to the two separate layers of walls, reducing sound transfer significantly.
Soundproofing a Garage On a Budget: Tips and Tricks

Contrary to popular belief, working within a financial constraint doesn’t mean compromising on quality when it comes to soundproofing your garage. Let’s delve into some economically efficient tactics that can effectively reduce noise.
Firstly, repurpose household materials. With some imagination, moving blankets, carpets or rugs can function as sound absorbers, particularly when hung on the walls or laid on the floors. This adds an extra layer of insulation against sound.
Next, consider DIY draft excluders or weatherstrips for garage doors. Simply attach these to the bottom of the doors to block out unwanted sound and also protect your garage from outside elements.
Moreover, remember that small pockets of air can act as entry points for sound. Use acoustical caulk or foam gaskets for outlets and switch boxes on the walls to prevent this.
Lastly, take advantage of second-hand materials. Check local listings or home improvement stores for affordable drywall and insulation materials left over from other projects. This won’t only reduce cost but also contribute towards recycling.
Remember, soundproofing doesn’t have to be expensive. Cost-efficient measures can still result in a well-insulated and noise-free garage.
FAQ
Can you completely soundproof a garage?
While complete soundproofing of a garage is typically unachievable, a significant reduction in noise transmission can be attained.
How do you soundproof an unfinished garage?
To effectively soundproof an unfinished garage, one needs to stud out the walls, fill them with insulation, and overlay with 5/8” drywall, essentially transforming the garage into an insulated room.
How do I soundproof my garage floor?
To soundproof your garage floor, apply a high impact absorption foam of varying types and thicknesses on the concrete floor, and place a resilient layer atop of it, before adding the final floor finish.
What is the best way to soundproof a concrete floor?
The best method to soundproof a concrete floor is by applying acoustic membranes or matting to the sub-floor, which can range in thickness and may include airborne noise reduction features.
What materials are best for garage soundproofing?
The best materials for garage soundproofing include mass-loaded vinyl, acoustic foam, soundproofing drywall, and resilient channels.
Is it possible to soundproof a garage door effectively?
Yes, it’s indeed possible to soundproof a garage door effectively using materials like insulating seals, acoustic blankets, mass-loaded vinyl, or drywall.
How do I reduce echo within a soundproofed garage?
To reduce echo within a soundproofed garage, consider adding absorption materials such as foam panels, carpets, and diffusers, as these materials can absorb sound waves and lessen their repercussion.