Discover the efficient and safe method of removing a garage door that can save you time, effort, and potential injuries.
Removing a garage door may seem like a daunting task, but with the right tools and a clear understanding of the steps involved, it can be a straightforward process. This article provides a comprehensive guide on how to safely and efficiently remove your garage door.
You’ll find detailed instructions on detaching the door panels, disassembling the track, and addressing the torsion spring with caution.
Whether you’re planning a garage renovation or replacing an old door, these instructions will ensure you get the job done correctly.
Key takeaways:
- Always prioritize safety measures.
- Gather essential tools before starting the removal process.
- Assess the type and condition of your garage door.
- Follow proper instructions to loosen the torsion spring.
- Take precautions when removing and handling garage door panels.
Safety Considerations for Removing a Garage Door
Prior to any dismantling operation, it’s essential to adhere to several safety measures.
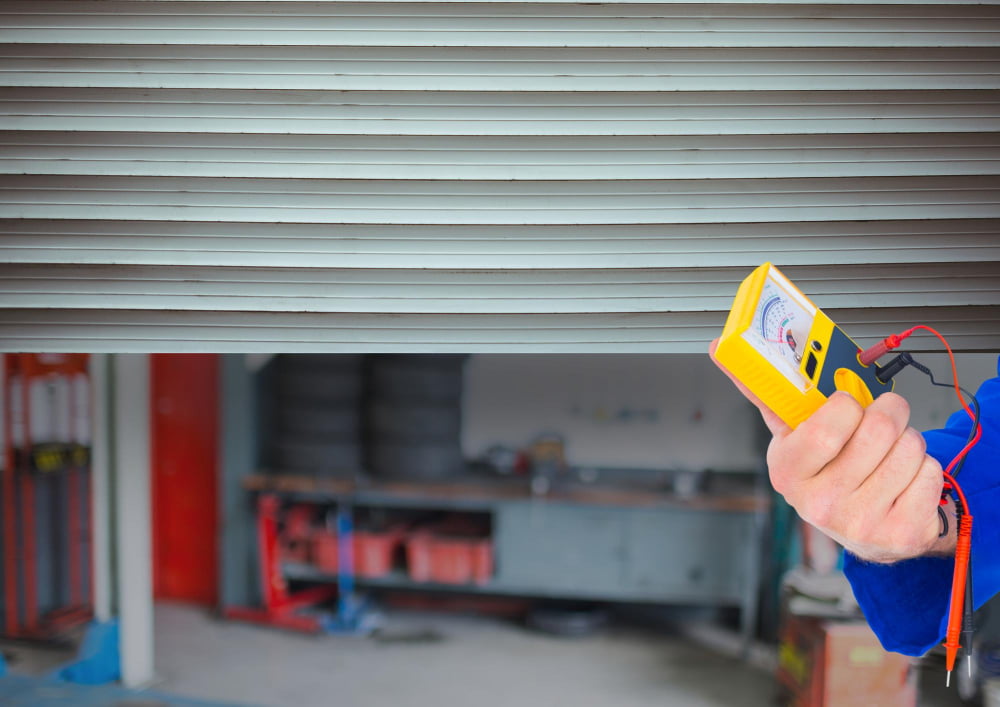
Firstly, always disconnect the power supply to the automatic garage door opener. This prevents accidental activation which may lead to injuries.
Secondly, it’s crucial that heavy-duty gloves are worn throughout the process. The panels, brackets, and other components can contain sharp edges.
Lastly, never attempt to handle the springs with bare hands. Because they can maintain a high amount of tension, their release could cause sudden movement, potentially resulting in injury. Always use the recommended winding bars or call a professional if you’re unsure.
Remember, if at any point the process feels overwhelming, there’s no harm in seeking help from an expert. Safety always comes first.
What Tools and Materials You’ll Need
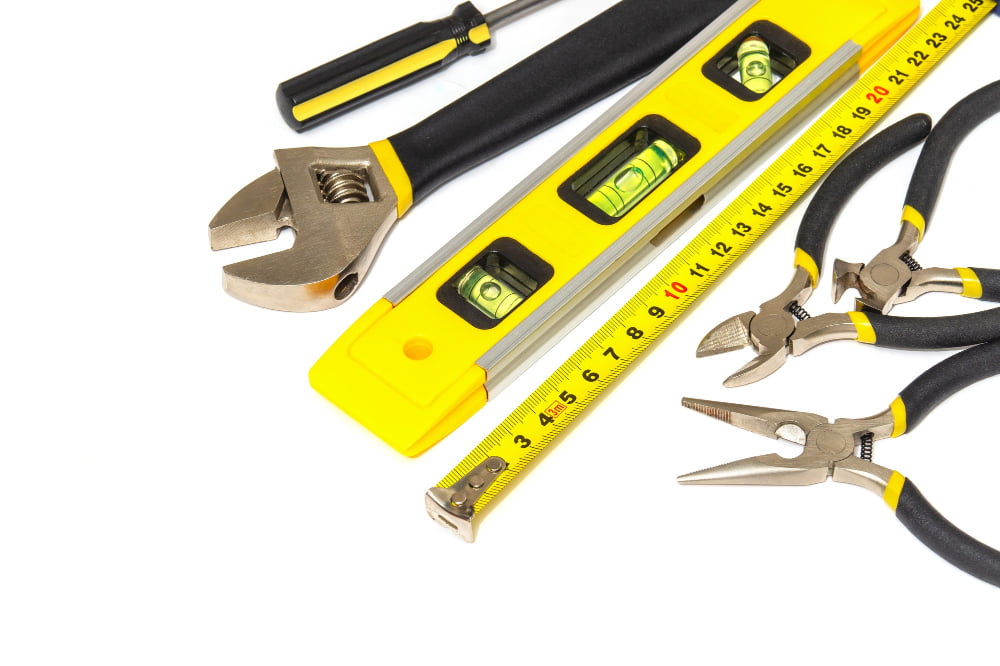
To ensure a smooth removal process, gather these indispensable items beforehand:
- Winding Bars: You’ll require these to loosen the torsion springs, reducing risk of injury from potential spring backlashes.
- Adjustable Wrench: Ideal for loosening bolts throughout the removal process. Precision and versatility make it a must-have.
- Pliers: Employed primarily for detaching the lift cables, they offer a firm grip allowing meticulous handling.
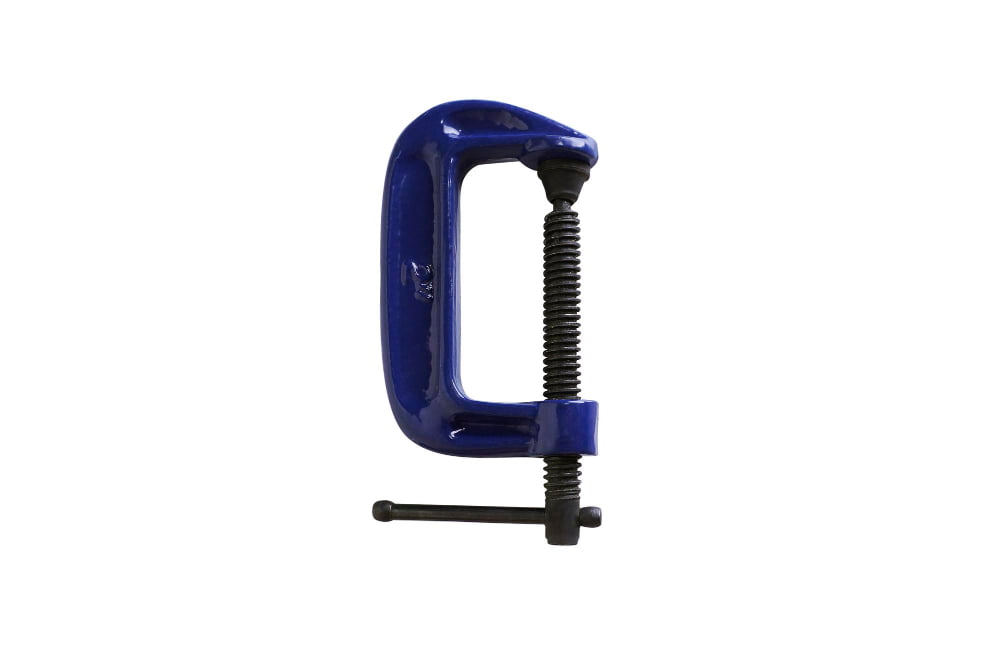
- Locking Pliers or C-Clamps: They secure the door while dismantling the springs, preventing any unwanted movements.
- Gloves and Safety Glasses: Essential for personal safety, they protect hands from sharp objects, and eyes from debris.
- Ladder: Grants you the necessary height to work on the upper parts of the door assembly.
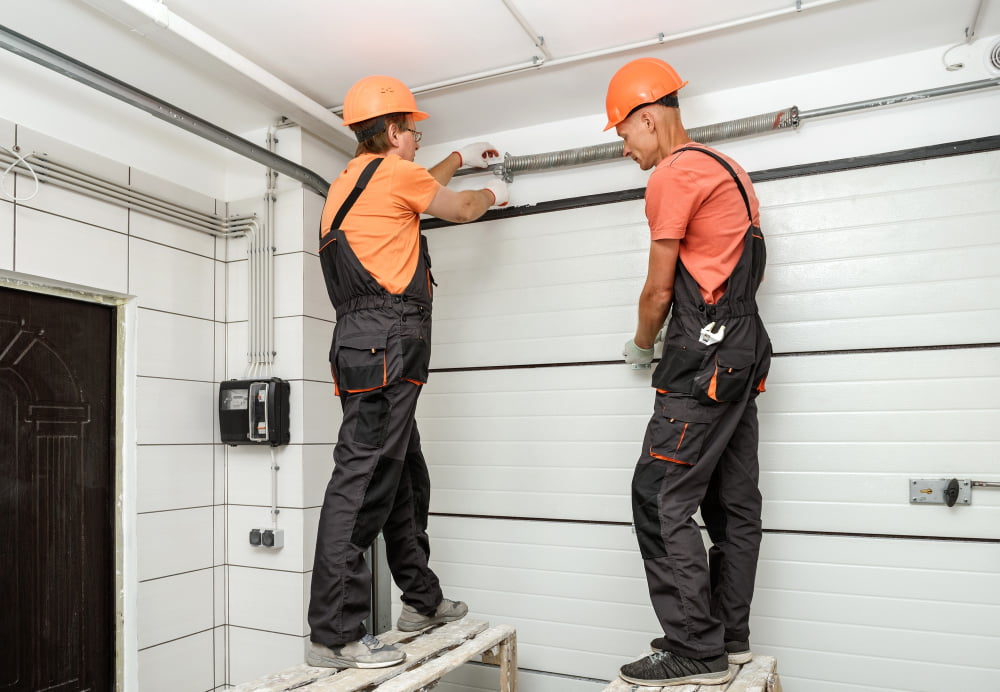
- Helpers: Hiring or having someone available eases the process of bringing down the heavy door panels.
These tools ensure you’re ready and equipped to handle the task, reducing the chances of unexpected interruptions. Make sure all are in good working condition before commencing.
How to Assess Your Garage Door Before Removal
Before jumping straight into the removal process, it’s important to perform a preliminary assessment of the garage door. You’ll need to identify its type – either standard torsion or extension spring, as the removal method varies between these. Examine the overall condition of the door, particularly the spring system, to check for potential damage and uneven wear.
Always keep a mental note of any peculiarities or complications this may bring later. Also, measure your door’s dimensions including width, height and thickness. This information will be useful if you plan on replacing the door with a new one. It’s also worth contacting local waste disposal services to understand how to correctly dispose of your garage door once it’s removed.
In effort to proceed safely, always remember to unplug the garage door opener and secure the garage door in the down position. Doing these checks first can save you time and avoid unnecessary hardship down the line.
Instructions On How to Loosen a Garage Door Torsion Spring
Begin by positioning yourself on a sturdy ladder, facing the garage door spring directly rather than standing beneath it. Utilize a sturdy winding bar of appropriate length – typically 18 to 24 inches – that fits snugly into the winding cone’s holes. Do not substitute this tool with screwdrivers or other improvised tools, as safety may be compromised.
Ensure the winding bar is fully inserted into one of the winding cone holes. Hold it firmly and loosen the set screws on the winding cone with an adjustable wrench. Be prepared for some degree of force released from the spring, which underscores the importance of the winding bar for control and safety.
Once the set screws are loosened, keep holding onto the winding bar while also inserting a second winding bar into the available hole on the winding cone. Hold this second bar securely before releasing the first. Carry out this ‘leapfrog’ winding action in steps until the spring tension is significantly diminished, indicating successful loosening of the torsion spring.
Steps to Clamp Garage Door in Down Position
First, close the door entirely. With a pair of sturdy locking pliers, make a firm clamp on the vertical track just beneath the bottom roller. This safeguards the door by ensuring it stays in a closed position while performing the door removal tasks—it prevents any sudden upward movements. Ensure the clamp is tight and secure to avoid unnecessary accidents. Safety should be your foremost concern when proceeding with the task.
Next, place a step ladder beneath the torsion spring to easily access the spring and cable drum. This will assist you in the unwinding process, which follows next. Step ladders provide stability and safety during the operation.
Finally, prepare the winding bar by inserting it into the winding cone. Handle this tool conscientiously—it’s instrumental in managing the high tension stored in the springs. A winding bar acts as a lever to unwind the spring slowly and safely.
These are crucial steps when preparing for garage door removal, so it’s essential that you execute them mindfully and with patience.
How to Properly Place First and Second Winding Bars
Having now loosened the torsion spring, proceed with the placement of the winding bars. Insert the first winding bar into the bottom hole of the winding cone, ensuring it sits comfortably in place – this acts as a necessary support. Hold onto this bar tightly to provide counterpressure against the spring.
Now, insert the second winding bar into the next hole on the winding cone. This process allows you to amplify the force needed to move the springs without causing any damage. Always maintain firm grip on the bars as a safety measure.
Remember, the bars must always be kept at a 90-degree position relative to one another during this procedure to evenly distribute tension across the garage door system. It also reduces the chances of the bars slipping out under high pressure. Lastly, do not remove the first winding bar until the second one is firmly in place to prevent any rapid and dangerous coil recoiling.
Tips to Unwind Torsion Spring One-Quarter Turn
Carefully position the winding bar in the winding cone’s bottom hole, ensuring a solid and secure fit. Maintaining a firm grip on the bar, slowly ease it around by a quarter of a turn. Continue this motion until you feel the spring’s tension start to lessen.
This quarter-turn motion isn’t merely arbitrary. A torsion spring operates on a principle of wound-up energy, and by executing smaller adjustments, we’re slowly releasing this energy in a controlled, safe manner. Each quarter turn represents a gradual, safely manageable reduction of this tension.
Bear in mind that the spring is under high pressure. As such, always keep your face and body to the side of the winding bars while turning to avoid potential harm if the spring snaps.
Always remember that patience is the key here. It may take numerous quarter turns to unwind the spring completely, but this ensures a safer process. So, pace yourself, stay focused, and adhere to the quarter-turn guideline to achieve a successful and safe torsion spring unwinding.
Procedure to Finish Loosening Spring
Once you’ve rotated the spring a quarter turn, carefully remove the first winding bar. You can then set it at the 90-degree position where it will be ready for the next rotation.
Carefully rotate the second bar up to the 180-degree position. At this point, keep a firm grip on the bar as you release the tension from the springs. There may still be significant tension in the spring, posing a risk if mishandled.
Repeat these steps for the second winding bar. After a few turns, the tension should be sufficiently released. Be cautious with each turn; abrupt release of tension may cause the bar to jerk or the spring to unwind quickly. Reapply the clamps or locks on the torsion tube to ensure it will not move while removing the spring.
Having fully loosened the spring, you can now proceed to remove the bolts and nuts from the spring bracket. As you complete this step, the spring should come loose easily. Always maintain control of the spring as any residual tension might cause it to spring out abruptly.
Remember, safety should always be paramount. Take your time, and if you find any of this overwhelming, consult a professional.
Instructions for Removing a Garage Door Extension Spring
To commence, bring an open-ended wrench into play to loosen the bolts securing the extension spring to the track bracket. The tension in the spring should gradually ease as the bolts are loosened, but always remain cautious, as the spring can still pose danger. Once the bolts are entirely loosened, you can slowly pull the spring out of its mounting bracket.
Next, shift your attention to the pulley, which is attached to the spring. To remove, slip out the clevis pin that bridges the pulley and the track. With the pin out, the pulley should come off easily, freeing the extension spring entirely.
Remember, when managing garage mechanisms, it’s imperative to track of each element, since all pieces will be crucial upon reinstallation or replacement. A labeling system or photography can prove beneficial during these processes.
How to Detach Cable and Remove Spring

With gloves on, proceed to detach the cable from the bottom bracket of the garage door panel using pliers. Once the cable is free, use a wrench to loosen the stationary cone attached to the spring. This step reduces the tension off the spring itself. With less tension, it becomes safer to handle the spring.
Now, move onto the spring. Apply a controlled turning motion to unscrew the spring from the center rod bracket. Remember to have a firm grip on the spring as an uncontrolled release can lead to accidents. Keep all body parts at a distance during this step.
After this, shift your attention to the bolts holding the spring and center bracket. Carefully remove these bolts and slowly slide the spring towards the end of the rod. At this point, you should be able to easily remove the spring from the rod entirely.
Make sure to store these removed components safely as they are sharp and potentially dangerous if not handled carefully.
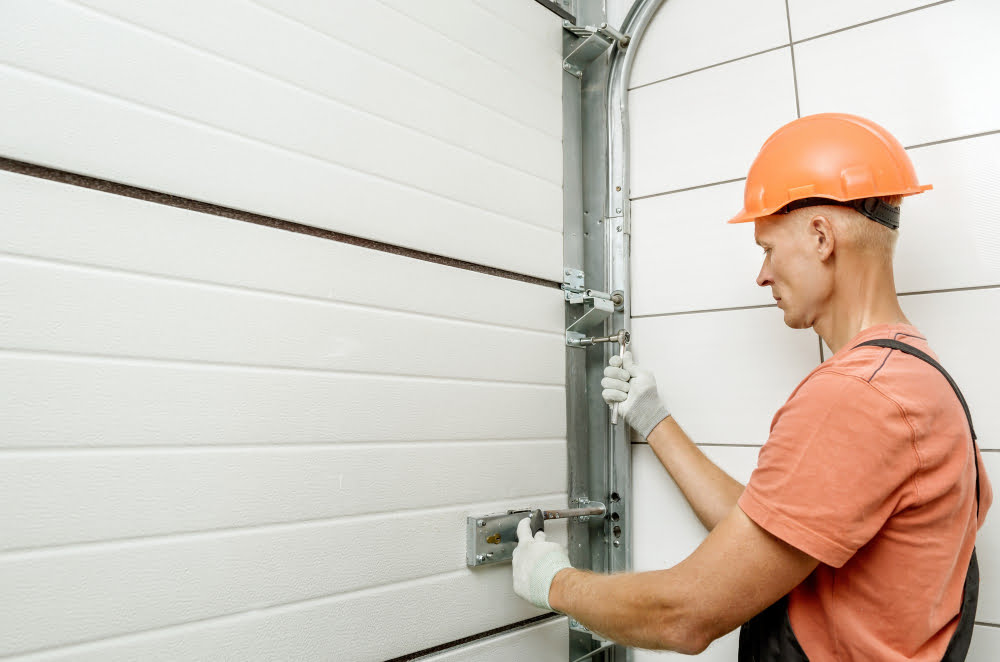
Steps to Remove Garage Door Panels
Initiate the process by locating the hinges that hold the top panel of the door to the bottom one. Remove these fixtures using a screwdriver or a socket wrench, whichever suits the fittings on your specific door.
Proceed cautiously to take off one panel at a time to avoid interfering with the spring system, an unnecessary strain could lead to uncontrolled movements that might inflict injury.
During the process of removing the screws, always gently hold the panels in place. They might be lightweight, but an unexpected shift could throw off the balance of the garage door.
Taking the door off track is the next crucial step. Grasp both the right and left sides of the door and carefully guide it out and away from the track.
Post removal, ensure to safely dispose or store the panels. Reuse is an excellent option if the panels are still in good condition.
Engage a helping hand throughout this process as it can be quite laborious dealing with large door panels single-handedly. It’s safer and more efficient that way.
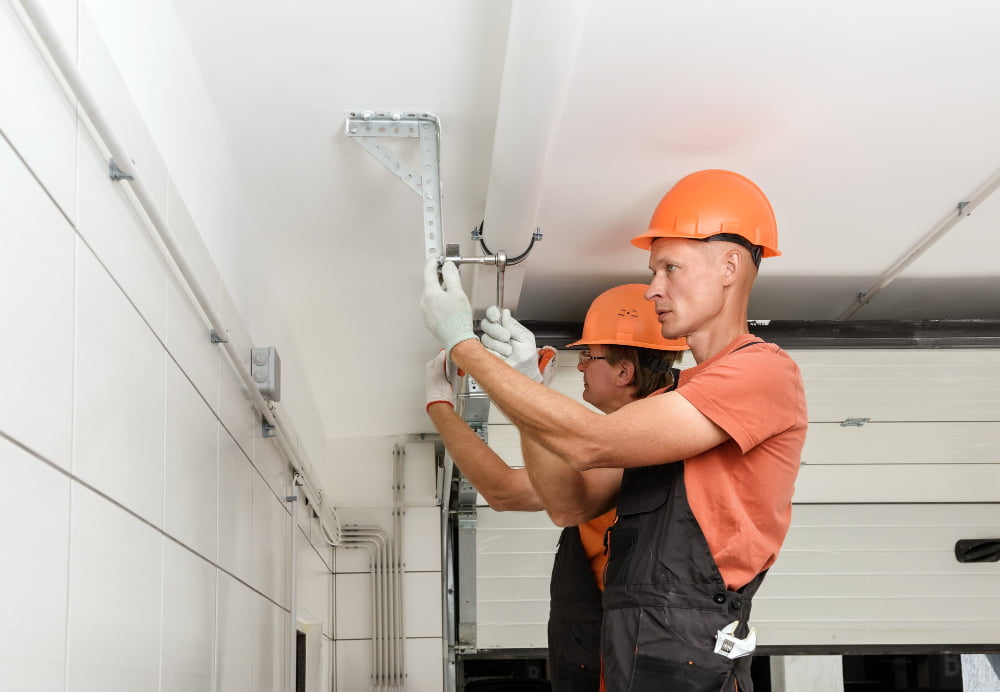
When to Call a Professional for Garage Door Removal

Recognizing the need for professional help plays a vital part in successful garage door removal. Tasks like manipulating heavy garage door panels or handling torsion springs may exceed your DIY abilities and can honestly be dangerous if mishandled.
Danger signs that should not be ignored include:
- Extreme tension in springs: If, after precautions and correct steps, springs remain tight, a pro should handle the removal. Remember, the potential injury that could come from spring breakage is not worth the risk.
- Difficulty in handling garage door weight: Mishandling an overhead door can cause serious injury. Don’t hesitate to call an expert if it feels too heavy or if it’s challenging to control, particularly in the case of a one-piece wooden or solid steel door.
- Damaged door sections: A door compromised with splits, cracks or rust likely won’t last much longer and could collapse under its weight during removal. In these cases, professional service is advisable.
- Unique Installation: If your garage door system has features not covered in standard removal guides, experts should take care of removal to avoid potential damage or injuries.
- Lack of right tools: Undertaking garage door removal without correct tools is inadvisable. A garage door professional has the necessary equipment optimized for such tasks.
Remember, there’s no shame in calling professionals. Their knowledge and experience ensure safety and potentially save time and additional expenses down the line.
FAQ
Can you replace a garage door yourself?
Yes, you can replace a garage door yourself, unless you lack the necessary tools, have unique garage requirements, or are unfamiliar with handling electrical wiring in the vicinity.
Is it hard to replace a garage door yourself?
Replacing a garage door yourself can be challenging due to its weight, the complexity of its many moving parts, and the specific installation process required.
What are the essential tools needed for a DIY garage door replacement?
The essential tools for a DIY garage door replacement include a wrench set, cordless drill, level, tape measure, pliers, ladder, and safety gear.
How much time does it typically take to remove and replace a garage door?
The replacement of a garage door typically takes approximately 3 to 4 hours for a professional.
What safety measures should be considered when replacing a garage door?
When replacing a garage door, safety measures to consider include disengaging the door from the opener, carefully handling torsion springs to prevent injury, and ensuring the door is adequately supported to prevent accidental falls.