Learn how to easily reset your clicker garage door keypad with these straightforward steps.
Key takeaways:
- Identify your keypad model for the correct reset process.
- Locate the Learn button on the garage door opener.
- Reset the keypad to factory settings.
- Enter a new PIN on the keypad.
- Test the new PIN for functionality.
Identify Your Keypad Model
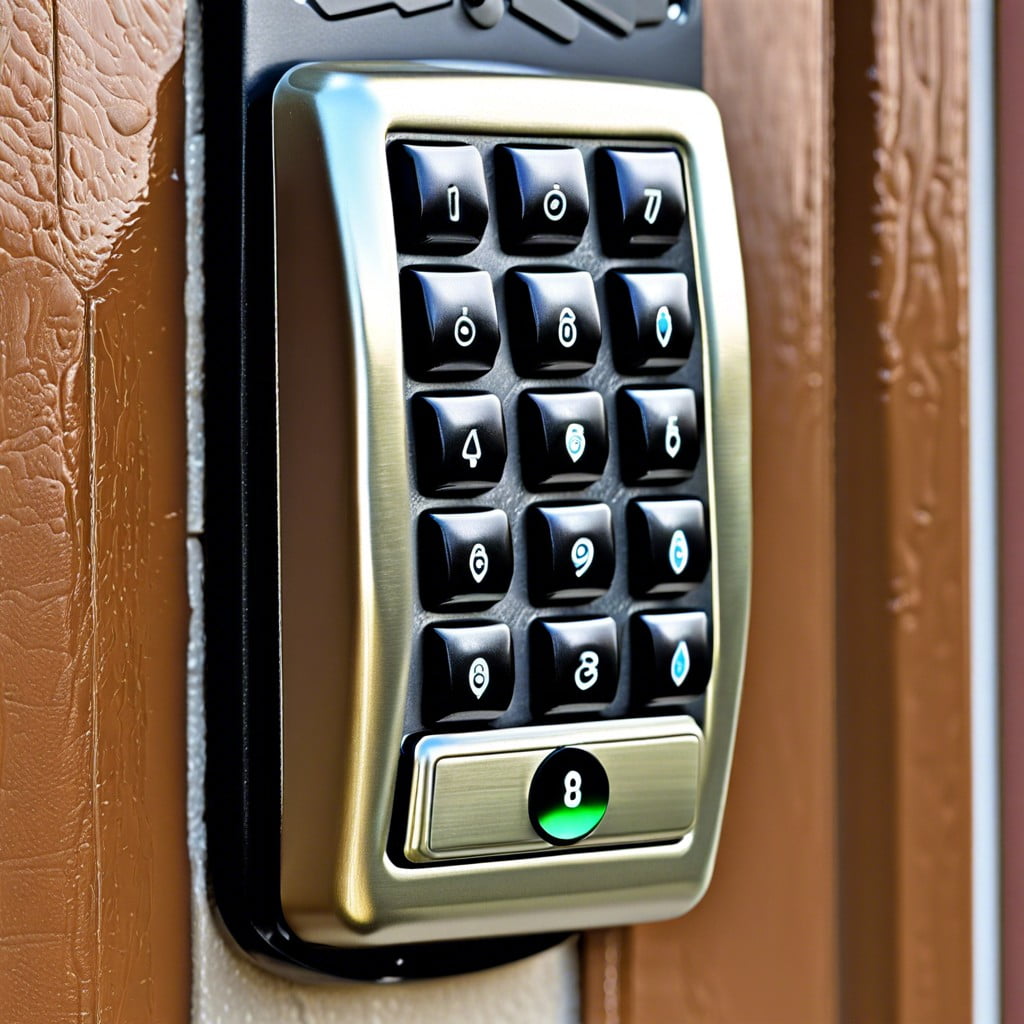
First, check for any model information directly on the front or back of the keypad. If you can’t find anything there, open the battery compartment; manufacturers often place stickers with model details inside. Another option is to consult the manual that came with your garage door opener system. If the manual is missing, look up the brand’s website using the make of your garage door opener; they typically offer digital manuals and model information based on photographs or descriptions of the keypad. Identifying the correct model ensures you follow the right reset process, as procedures can vary between models.
Locate the Learn Button On the Garage Door Opener
The Learn button is typically found on the back of your garage door opener unit. It’s often a small, round button colored red, yellow, purple, or green. You may need to remove a light cover or open a panel to access it. Pressing this button initiates the system’s programming mode, which is crucial for resetting your keypad and implementing new codes. To ensure safety and avoid accidentally erasing important settings, disconnect power to the unit before you start fiddling with it. Once you’ve pressed the Learn button, the LED indicator nearby should light up or blink, signaling that the opener is ready to pair with a new keypad code.
Reset the Keypad to Factory Settings
First, locate the reset button on your garage door keypad. This small, usually hidden button may be on the side or back of the keypad unit. Press and hold it for a few seconds. The length of time to hold the button varies by model, so consult your owner’s manual if you’re unsure.
Upon release, you might see the keypad lights blink or hear a beep. This indicates that the device has returned to its original factory settings. If no signal is provided, double-check the manual for specific indicators related to your model.
Next, ensure all previous codes have been erased. Attempt to use an old code to confirm it no longer works, signaling a successful reset. This step is crucial to confirm that the keypad is now ready to accept a new PIN.
Enter New PIN On the Keypad
After clearing the old PIN, it’s time to set up a new one. Press the reset button once more and immediately type in your desired four-digit code. Make sure the code is easy for you to remember but hard for others to guess.
Press the “enter” button to save the new PIN. Green light should blink, signaling the code has been successfully saved. If there’s a red light or continuous blinking, try entering the code again, ensuring you press each key firmly.
Testing the new PIN right away confirms that it works and saves you the hassle of discovering issues later. Your garage door should now respond correctly when you input your new code.
Test the New PIN for Functionality
After setting your new PIN, it’s time to make sure everything works correctly. Approach your garage door and enter the freshly assigned PIN on the keypad. Press the enter button. You should hear a click or a beep sound indicating the door is responding to the new code. If the door starts to move, congratulations, your reprogramming was successful!
If the door remains stationary, double-check you entered the PIN correctly. Sometimes it’s easy to hit a wrong button. If it still doesn’t work, you may need to repeat the reprogramming steps or consult the keypad’s instruction manual for troubleshooting tips. A persistent issue might require assistance from a professional technician.
Always keep your new PIN confidential to maintain security for your garage.